How To Set Up Owlet Cam 2 Easily? (No Tech Skills Needed!)
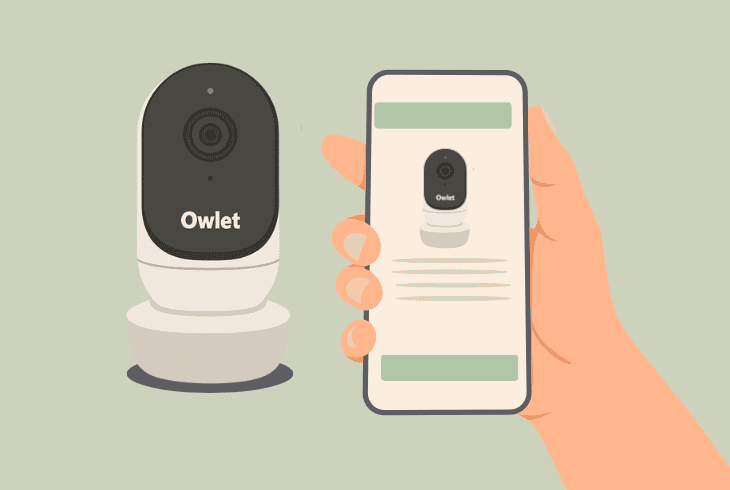
If you’re wondering how to set up Owlet Cam 2 without technical skills, this guide will walk you through every step with an in-depth explanation.
Even if you have never set up a camera before, this guide will feel like a breeze and help you get your Owlet Cam 2 ready in under 10 minutes.
We will walk you through:
Without further ado, let’s jump into the guide!
How to Set Up Owlet Cam 2 in 8 Quick and Easy Steps?
Note: If you’re setting up your Owlet Cam 2 for the first time, we recommend following the steps consecutively.
1. Unboxing & Needed Tools
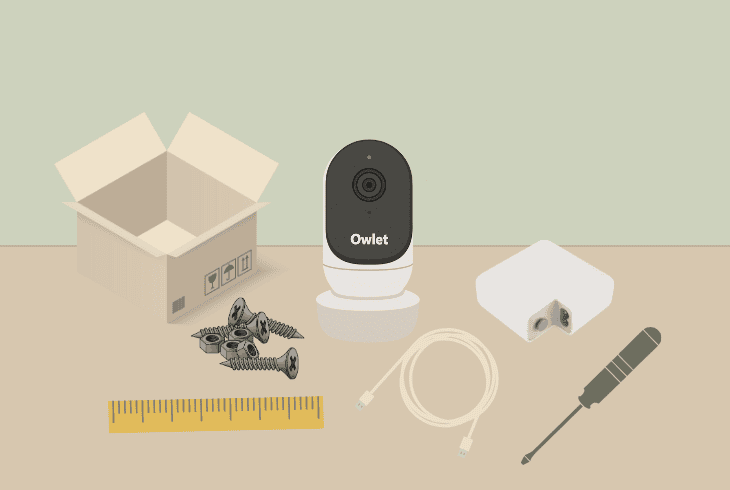
The first step is to unbox your Owlet Cam 2, check whether everything is there, and acquire the tools you would need for positioning and mounting.
In the box, you would find:
The tools you will need are a measuring tape and a small Philips screwdriver (not included).
2. Choosing Camera Position
There are two ways to position your Owlet Cam 2. You can either let the camera stand on a flat surface, such as a shelf, or mount the Cam 2 on the wall.
If you decide to go with the simple flat surface stand, you can disregard the Wall Mounting Kit and tools since you wouldn’t use them.
✅Measure, Mark & Consider
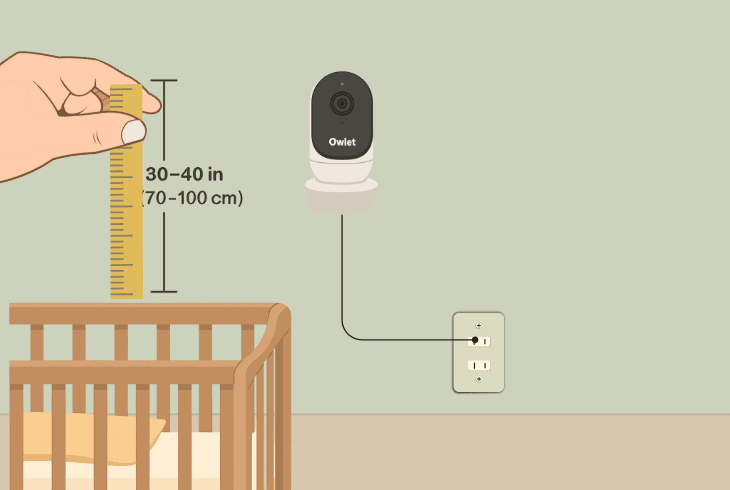
The best camera position would be ~30–40 inches (~70–100 cm) from the top of the baby’s bed mattress, which will guarantee the camera is out of reach.
If you’re going with a wall mount, use the measuring tape to mark the exact spot on the wall where your Owlet Cam 2 will be mounted.
It’s also important to consider the power outlet that you’ll use as per the power cable length, so spread the cable to check whether it will reach.
If not, feel free to use a power strip to extend the range, but keep in mind the ~30–40 inches threshold to prevent any cable in your baby’s reach.
⚠️Important: Also, consider the location of the temperature and humidity sensors, found near the end of the cable that plugs into the power adapter.
3. Mounting the Owlet Cam 2
Note: Skip this step if you’re using a flat surface stand position!
To secure the mounting plate to the wall, align the center with the mark you’ve made earlier and use the screwdriver to attach it.
Unwind the cable by removing the wraps and thread it through the cable channel in the middle of the mounting plate.
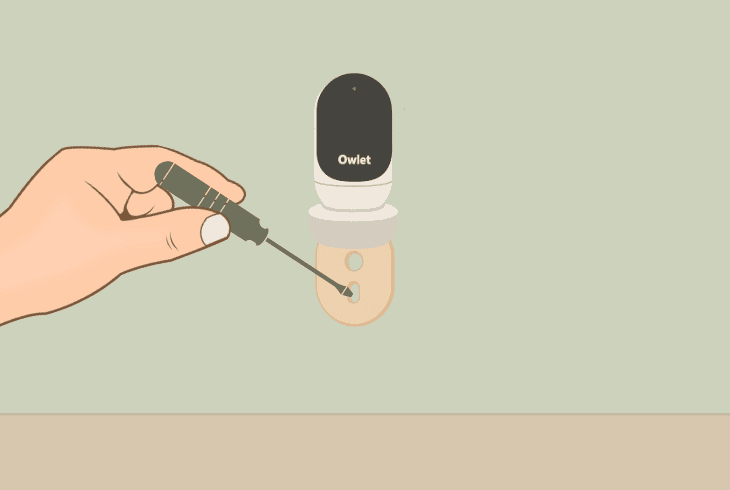
The orange sticker of the cable must be aligned right above, on the top of the mounting place!
Then you can mount the base by positioning the large holes on the plate over the tabs of your base and sliding down until it *clicks*.
Then you can attach the Owlet Cam 2 to the magnetic base and plug the cable into the camera port.
⚠️Important: Again, the orange sticker must be above the mounting plate to provide enough room for your Owlet Cam 2 to move and be positioned however you want.
4. Installing Guards & Brackets
A critical step is to mount the cable guards to prevent any exposed cables near your baby, no matter whether you’ve followed the 30–40 inches rule or not.
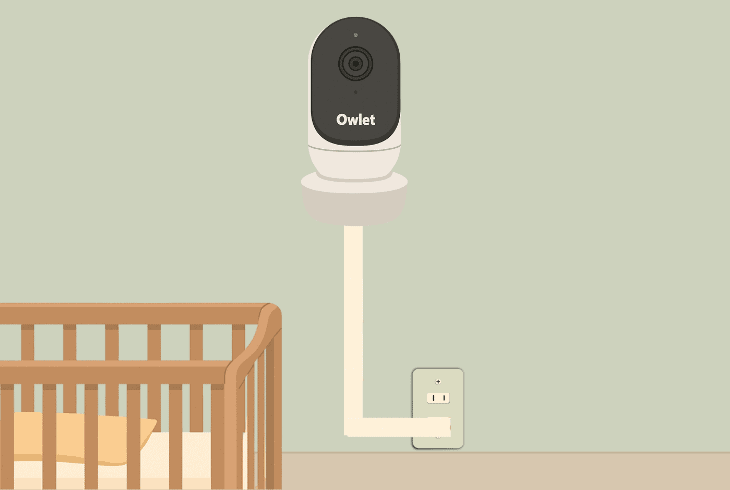
To install the cable guards, follow these steps:
- Remove the adhesive from the long guard cover.
- Thread the cable through the center of the long guard.
- Put the guard on the button of the mounting plate.
- Press firmly and repeat for the other long guards.
- Use the L-brackets to lead the cable to the outlet.
- Gather the excess cable into a loop and secure it.
When your camera is connected to the power and the cable is secured, it’s time to set it up!
5. Set Up Your Owlet Camera 2
Now, when the device is in position, it’s time for the Owlet Cam 2 setup, consisting of several steps, and we recommend going through all of them for the best experience.
Step #1: Download the Owlet App
Now you need to download the Owlet App for Android or iOS through the Google Play Store or App Store, respectively.
Then you need to either sign in or create a new account to continue.
Step #2: Connect Camera to Wi-Fi
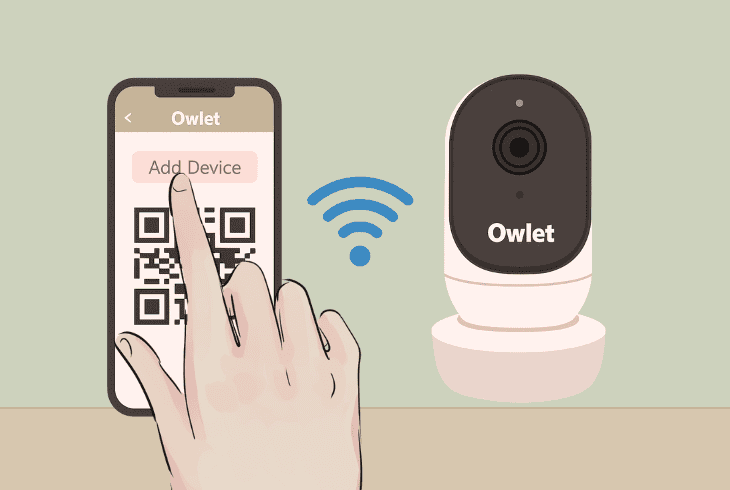
If your camera is blinking red and blue, this means that you’re ready to set it up with the app!
To connect your camera to Wi-Fi, there are a few requirements:
- You need to use the 2.4 GHz (not 5 GHz) network.
- Your phone must be connected to the same Wi-Fi.
- The router must be within ~100 feet of the camera.
- The phone’s mobile data must be disabled (for now).
When you’re ready, in the Owlet app, go to Account → “Add Device” and follow the steps until you need to show the QR code from your phone screen to the camera lens.
Then your camera will connect to the Wi-Fi, and you’re pretty much set up.
If your Owlet Cam 2 won’t pair or keeps disconnecting, here’s how to recognize what’s wrong:
| Owlet Cam 2 Light Indications: | ||
| 🔴🔵🔴 | Blinking Red & Blue | The Owlet Cam 2 is ready to be paired with the application. |
| 🔴🔴🔴 | Solid Red | The camera is actively streaming in the app or rebooting. |
| 🔵⚫🔵 | Blinking Blue | The camera is trying to connect to the Wi-Fi network. |
| 🔵🔵🔵 | Solid Blue | The Owlet Cam 2 is successfully connected to Wi-Fi. |
Note: If your Owlet Cam 2 is stuck blinking blue for more than 3 minutes, the device can’t connect to the Wi-Fi network.
Step #3: Test Angles with Preview
Once connected to the Wi-Fi, the first thing to do is test your camera angle through the Owlet app preview.
This will help you identify any issues early on, before you continue with the setup of your Cam 2.
If you notice that the camera is not pointed the correct way, feel free to make the adjustments!
Step #4: Configure Cam 2 Settings
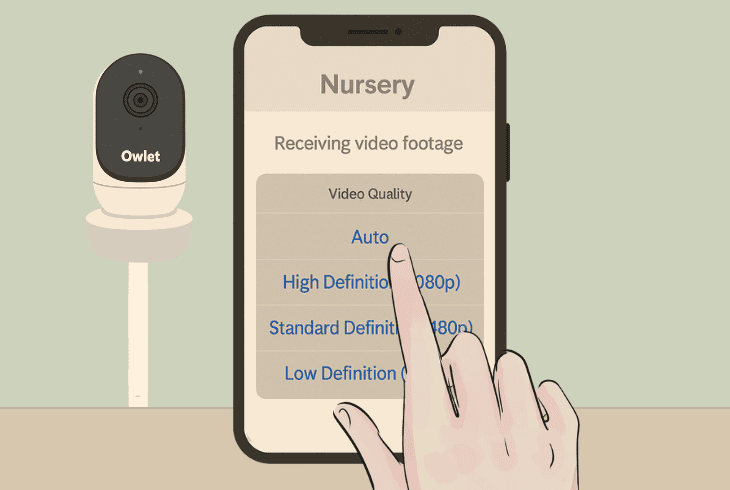
To configure your Owlet Cam 2 settings, go to the Owlet App → “Settings” → [Your Camera] → “Owlet Cam Settings”.
Then take a look and set up the following:
Video Quality:
Notifications:
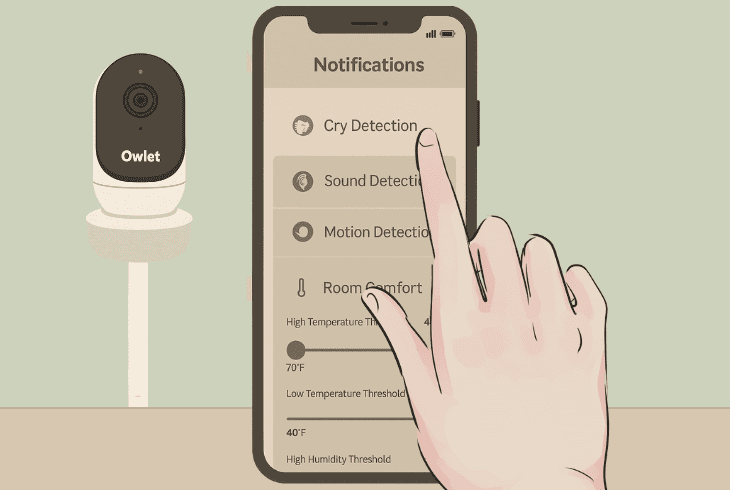
Here you can configure camera alerts and notifications, including:
To adjust the sensitivity of your Owlet Cam 2 notifications, you can choose between:
LED Status Light:
You can keep the red LED status light enabled or disable it completely to prevent disturbances!
Note: There are even more options up to you to explore, such as “Video Clips”, adjusting how long the captured videos will be for specifically selected events.
6. Night Vision & Low Light Test
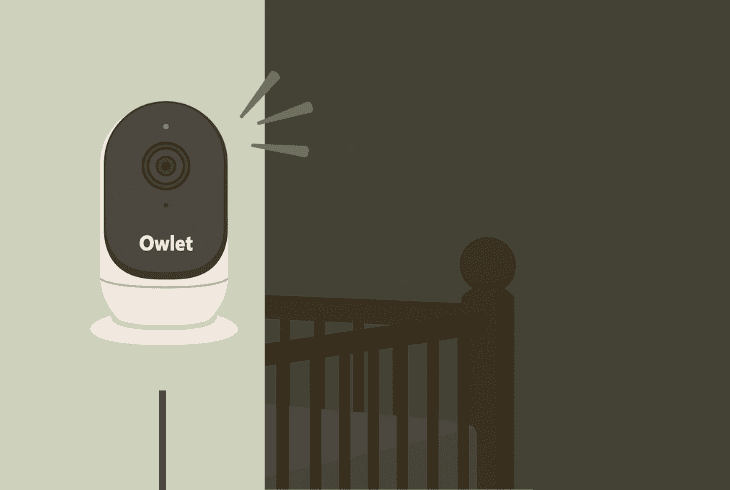
The Owlet Cam 2 automatically enables night vision when the room’s light level drops below a certain threshold.
To test this, you’ll need to darken the room or wait until nighttime to test and ensure you have a great observation during the dark hours.
What’s important here to note is that the room must be dark enough to trigger the night vision.
If there is ambient light during the night, you may experience an issue where the night vision will not activate, hence impacting your observation clarity.
Quick Tip: Try to eliminate all sources of light during the night!
7. Check the App Permissions
When you install the Owlet app, you’re typically asked to “Allow” critical permissions that would provide all the functionality that you require.
If you accidentally selected “Decline” on prompts such as “Use Location”, “Microphone Access”, “Camera”, or “Notifications”, critical features of your Owlet app may not work.
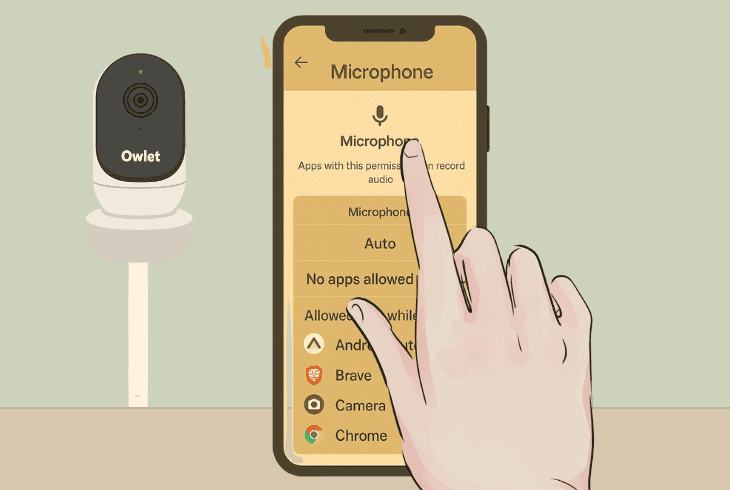
So, before wrapping this up, one of the final steps is to check these permissions:
Now let’s continue with the final step…
8. Check Firmware Before Use
Your Cam 2 should have been updated to the latest version during the setup procedure, but before using it, go to “Account” → “My Owlet Devices” → (Camera Name) → “Device Info”.
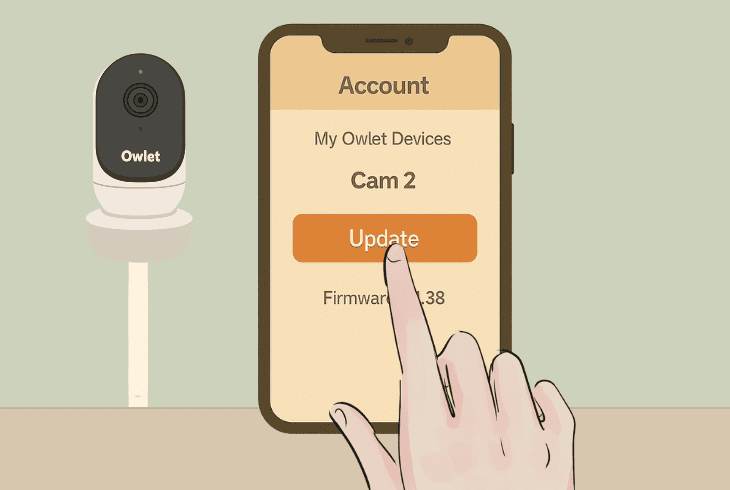
If you see an orange button prompting you to update along the way, go ahead and make sure to update the camera to firmware 4.1.38 or later.
That was how to set up the Owlet Cam 2.
If you’re facing potential Owlet Cam 2 error codes, you may want to explore our troubleshooting guides for more assistance.

Finn Wheatley, a Master’s graduate in Computer Science from UCL, London, honed his skills at small data science consultancies. There, he helped large corporations enhance their data capabilities by deploying cutting-edge machine learning analytics and resolving technical hurdles.


