Best Eufy S340 Mounting Options (100% Expert Tested!)

When exploring Eufy S340 mounting options, finding the best method makes all the difference in your eufy camera performance, detection, and coverage.
That’s why this quick guide breaks down the best mounting methods—from the default-included drilling installation, to using third-party accessories for optimizing the position of your eufy cam!
Let’s get started!
The Best Mounting Locations for Eufy S340
Before exploring any of the mounting options ZontSound has prepared, it is important to identify the best locations for your eufy S340.
The strategic placement enhances the camera’s ability to monitor key areas effectively while maximizing solar charging and preventing all the blind spots.
Here are some popular mounting ideas:
These locations are ideal because they position the camera to cover high-traffic or vulnerable areas.
Positioning the eufy camera ~7–10 feet high in these spots also improves the detection range and reduces the risk of a potential theft.
The Importance of Proper Mounting!
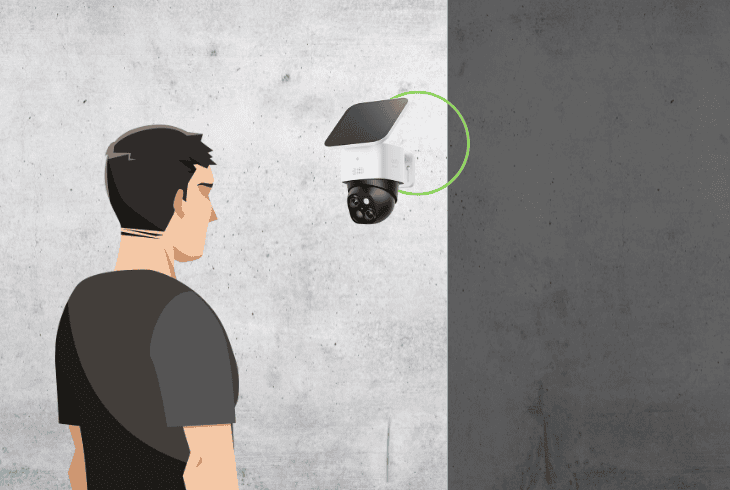
Mounting your S340 correctly is crucial for optimizing the performance, as proper placement enhances tracking accuracy, motion detection, and solar charging.
A well-positioned eufy camera ensures it captures the intended area without any blind spots!
Here’s why mounting is important for the eufy S340:
- Improves tracking and motion detection accuracy.
- Optimizes the solar charging for consistent power.
- Enhances stability and prevents theft of the device.
Note: Secure mounting is essential for theft prevention by protecting your security investment from being easily removed or damaged by environmental factors.
The Absolute Best Eufy S340 Mounting Options
Now, let’s have a look at some of the most popular mounting options for the eufy S340!
Option #1: Wall or Ceiling Mount (Default)
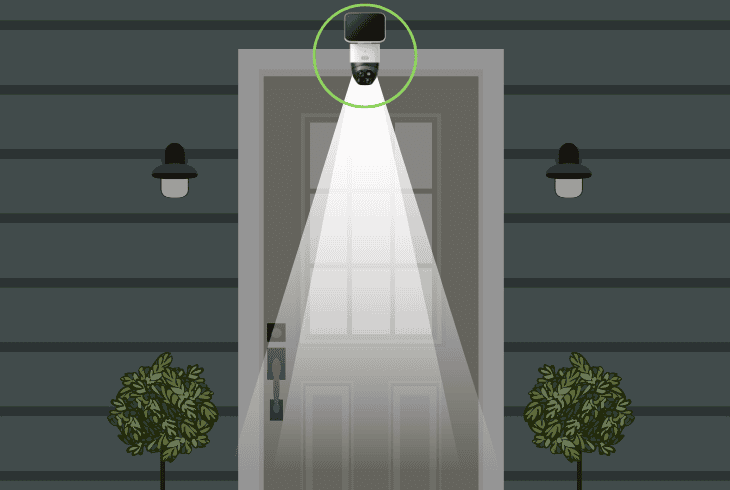
The default installation method intended for the eufy S340 uses the provided wall/ceiling mount that comes with the camera package.
Unfortunately, it is only intended for drilling, which may not suit all users, but it is by far the most efficient installation method for the camera.
- Best Install Location: Front Door Entryway
Step #1: Prepare the Mounting:
Position the mount at 7–10 ft (2–3 m) above your front door entryway for the best view.
Mark the spot using the included template to ensure accurate placement of the eufy S340 camera.
Step #2: Drill the Camera Mount:
Drill holes at the marked spots and insert the provided anchors by eufy to secure the mount with screws.
Double-check if the mount is firmly attached to the wall or ceiling for stability before installing the camera.
Warning: Do not tighten the screws all the way, before aligning the camera for the best view through the eufy mobile application.
Step #3 Install & Adjust the Camera:
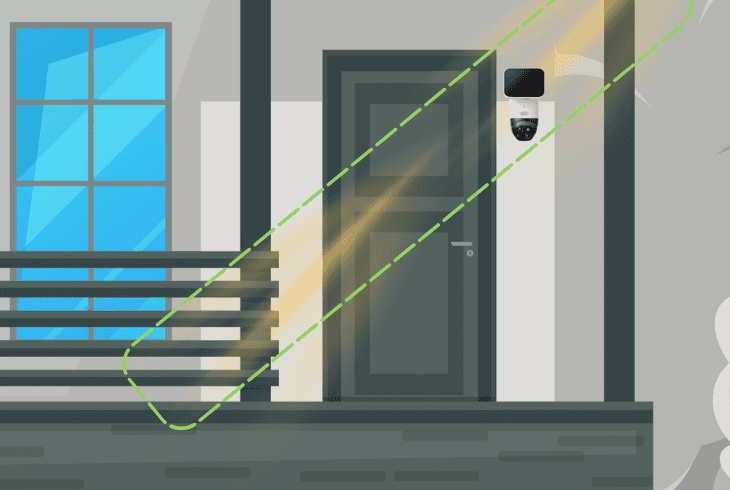
Secure the eufy S340 to the mount and adjust the angle to cover the entirety of your entryway, and connect the solar panel either directly or via a USB-C extension.
The eufy camera needs to have optimal sun exposure to charge efficiently and receive proper power.
Note: Use the eufy mobile application after the installation to check if the view covers the area.
Option #2 Gutter Mount (Third-Party Accessory)
Next, we will cover the gutter mount, a third-party accessory ideal for elevated positioning without drilling.
The leading feature of this mounting option is how easy it is to install, but the downside is that you would have to find a compatible gutter mount and order it for your eufy.
- Best Install Location: Driveway Corner
Step #1: Pick a Proper Mounting Position:
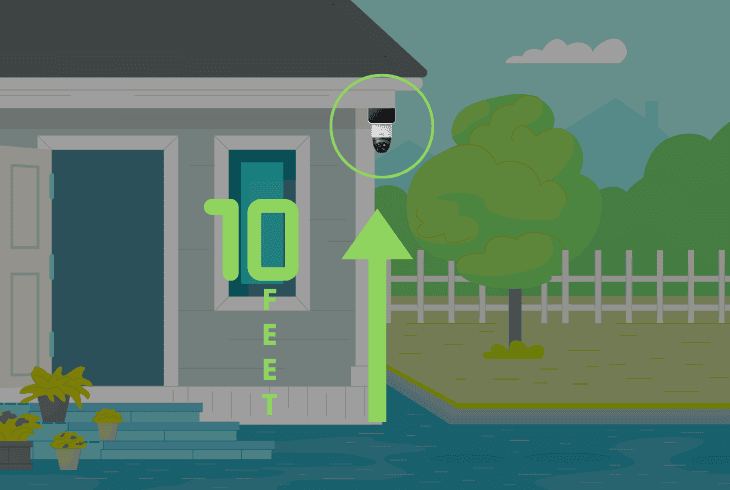
Choose a gutter edge near your driveway corner, ideally at roof height (~10 feet), to ensure a wide field of view and solar panel exposure.
An elevated spot maximizes the motion detection of the S340 camera coverage while keeping the camera away from the ground and secure from potential theft.
Step #2: Install the Gutter Mount:
Use the clamp-based gutter mount to clip onto the gutter edge securely and adjust it for stability to minimize movement in strong winds.
Since the accessory does not require drilling, ensure the clamp grips tightly with the mounting surface and check if it moves around.
Step #3: Mount & Adjust the eufy S340
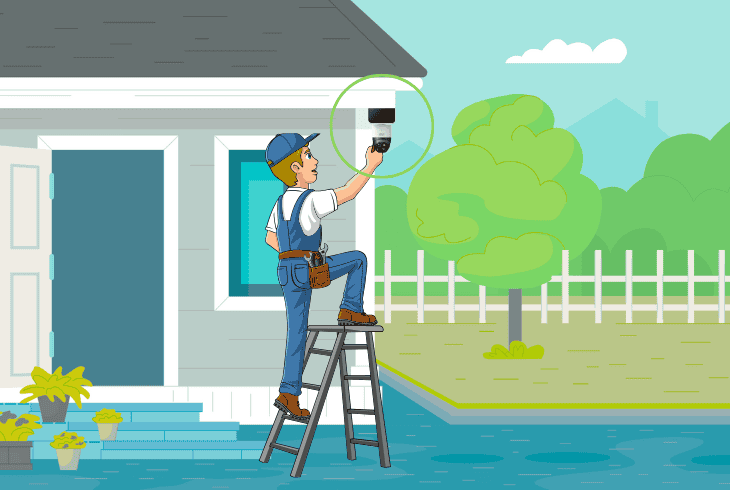
Secure the eufy S340 onto the gutter mount and carefully align the monitoring angle to cover the driveway corner effectively.
Now, connect the solar panel to supply the camera with power and carefully lead the USB Type-C cable to avoid environmental damage.
Option #3 Siding Mount (Third-Party Accessory)
Now, we’ll explore the siding mount as per eufy S340 mounting instructions, which is another third-party accessory similar to the gutter mount.
You don’t have to do any drilling here either, and the setup consists of several easy steps, as long as you have registered your eufy S340.
- Best Install Location: Garage Roofline
Step #1: Mounting Position Selection:
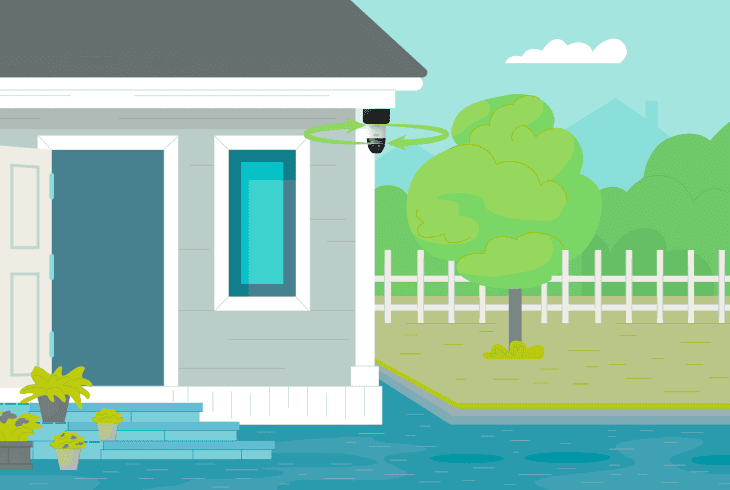
Select a spot on your garage roofline vinyl, aiming for the highest point possible to maximize the eufy S340 camera’s field of view.
This elevated position ensures an appropriate coverage of the monitored property or area while keeping the S340 camera out of reach from potential intruders.
Step #2: Mount Physical Installation:
Slide the siding mount into the gaps of your siding, so it starts to hold via the pressure and the weight of the eufy S340 camera.
This ensures a firm grip without the need for drilling and keeps the camera in place even during heavy weather conditions.
Also, verify the siding mount is stable to prevent slipping of the camera and maintain the initial alignment for consistent monitoring.
Step #3: Installing & Setting the eufy:
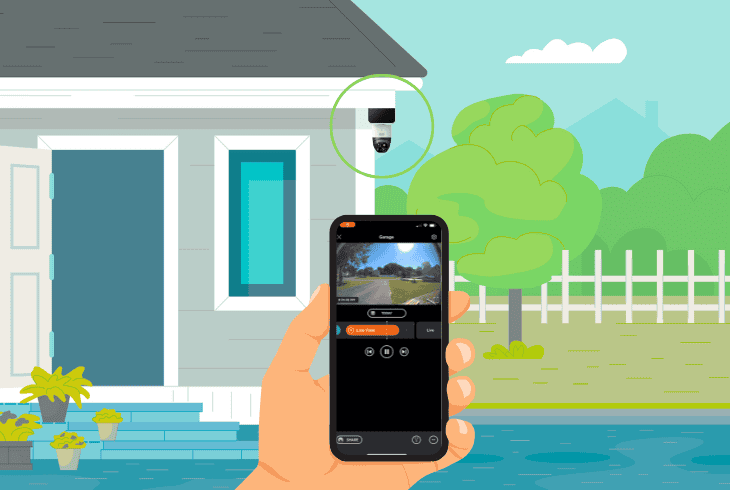
Secure the eufy S340 onto the siding mount and adjust the angle to cover the monitored area as much as possible from the mounting position.
Adjust the position of the eufy to avoid potential obstructions and ensure clear motion detection and video capture across the surveillance area.
Wrapping Up:
So, now you know all of the possible Eufy S340 mounting options, without having to use the provided drilling kit and overextend the installation procedure.
The solutions we have reviewed above enable you to start monitoring right away with a simple third-party mounting option. Best of luck!
Read Next: Is Alexa Spying On You? – (Here’s How to Stop It)

Finn Wheatley, a Master’s graduate in Computer Science from UCL, London, honed his skills at small data science consultancies. There, he helped large corporations enhance their data capabilities by deploying cutting-edge machine learning analytics and resolving technical hurdles.


