Night Owl No Signal All Cameras? (No Panic Do This First!)

We know that encountering the “Night Owl no signal all cameras” error can be more than frustrating, especially when you rely on your system for the security of your home or office.
Don’t panic–this can happen due to a problem with the NVR/DVR, the power supply, or faulty cables/improper connections.
However, this guide will uncover professional solutions for the problem, so read until the end!
Night Owl No Signal All Cameras – Effective Ways to Fix!
Note: Wireless Night Owl cameras connect to the NVR/DVR over Wi-Fi!
1. Power Cycle the Night Owl Equipment (Wired & Wireless)
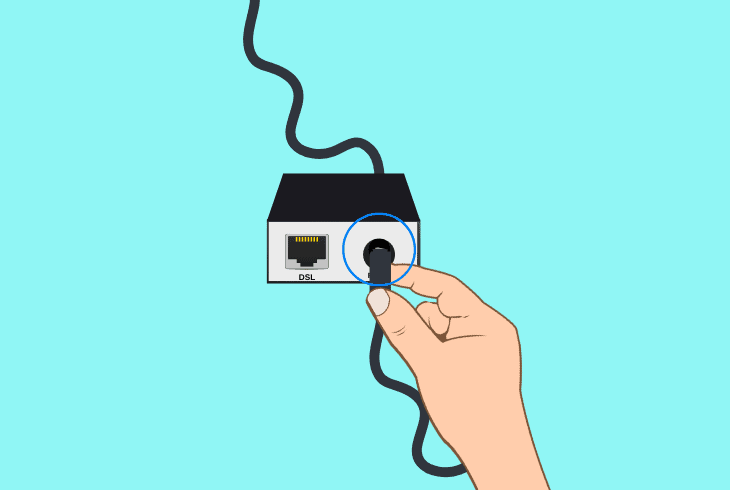
The power cycle can resolve temporary glitches by discharging each component in your security system and restoring the signal for each of your cameras.
As established, the problem often originates from the NVR/DVR, especially if your Night Owl cameras have lost reception.
1.1 How to Power Cycle a Night Owl Camera:
- Wired camera: Unplug the PoE cable from the LAN port on the NVR/DVR and wait for approximately 1 minute until a complete discharge.
- A/C adapter camera (wireless): Unplug the A/C adapter from the back of the camera unit and the outlet, then wait for at least 45 seconds.
1.2 How to Power Cycle the Night Owl NVR/DVR:
- Unplug the NVR/DVR from the power source.
- Wait 30 seconds to fully discharge the system.
- Reconnect the recorder power adapter.
Note: Double-check if the recorder and each of your cameras are working and recording consistently.
2. Switch the LAN Ports on the NVR/DVR (Wired)
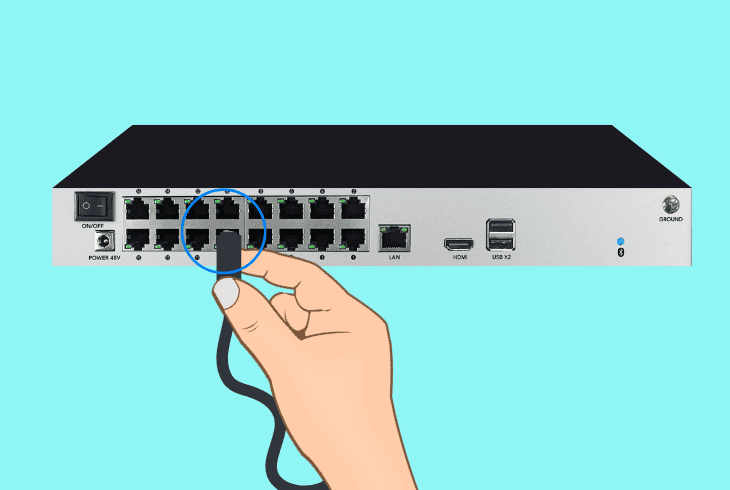
A fault with the LAN switch on the NVR/DVR might be actively disrupting the connection of each of your cameras.
So, ZontSound recommends switching the Ethernet cable of each camera to a different LAN port on the recorder to determine whether the problem is with the recorder or not.
So, proceed to swap each Night Owl camera’s cable to a different LAN port on the NVR/DVR recorder.
After switching, check the Night Owl app or monitor to confirm if the signal of the Night Owl cameras is restored. We also recommend temporarily disconnecting the Ethernet switch.
Note: The NVR/DVR recorder is equipped with an Ethernet switch interface in order to provide up to 12–14 LAN ports for each of your security cameras.
3. Isolate Issues with the Router & Network (Wireless)
If the Night Owl camera’s no signal issue persists, the problem is almost certainly with your router or network equipment, especially since the NVR/DVR recorder uses a LAN connection.
That’s why we recommend several alternative network solutions.
3.1 Reboot the Network Router
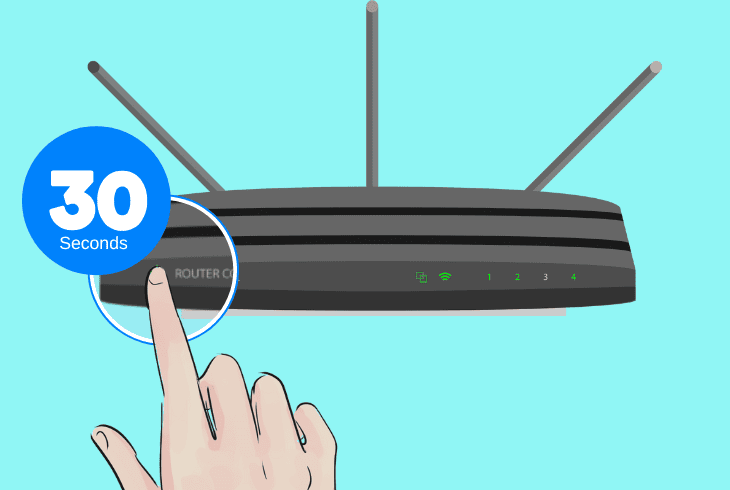
Unplug the network router for ~30 seconds, then plug it back in to conduct a clean power cycle of the router. Then reconnect the PoE cables of the Night Owl cameras and check for the signal.
3.2 Reduce the Network Load
Disconnect unnecessary devices from your Wi-Fi to reduce the network load and ensure both of the Wi-Fi bands have sufficient resources for all of the connected devices.
3.3 Check the WPA/WPA2 Encryption
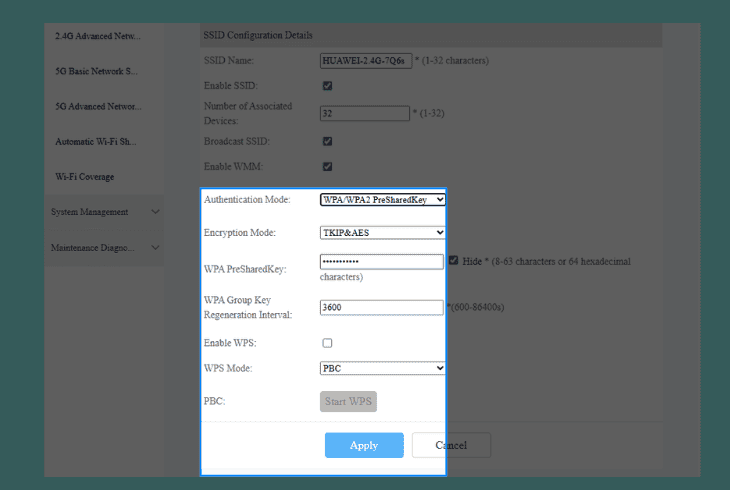
First, access your router GUI settings through this link or by inserting the default gateway and pasting it into your browser.
Then, use admin/admin to sign in, then navigate to wireless settings to confirm WPA/WPA2 encryption is enabled.
As required by Night Owl cameras, set the encryption to WPA/WPA2 if it is not already, and save the changes to restore the signal of your Night Owl cameras.
4. Assign the Cameras With a Static IP (Wired & Wireless)
An IP conflict with another device on your network can disconnect one if not all the cameras in your recorder’s network.
So, assigning a static IP to your Night Owl camera, rather than using a dynamic IP via DHCP, can resolve this issue and ensure a stable reception.
Step #1: Access the Router GUI:
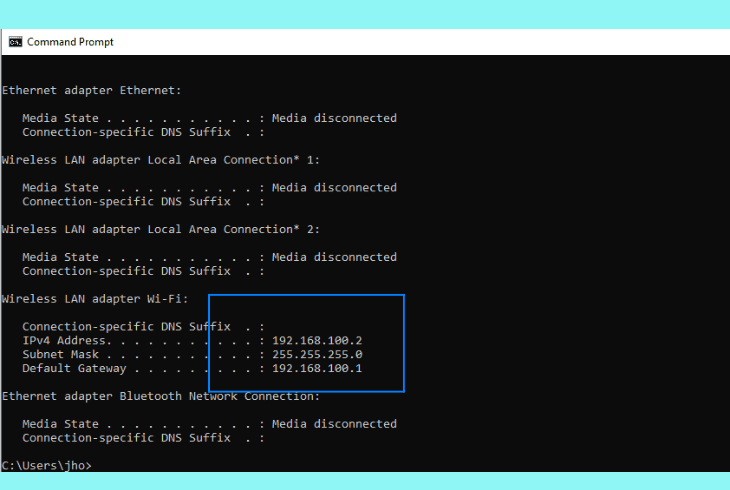
On a PC on your network, open Command Prompt, type “ipconfig” to find the default gateway, then enter it in your browser.
Sign in using the default credentials, often being “admin/admin” or “admin/password”, to access the router GUI.
Step #2: Find Night Owl in the DHCP List:
Then, navigate to Network → DHCP or DHCP List in the router settings, find “Night Owl” in the device list, and save the MAC address and current IP.
Note down the IP of each affected Night Owl camera that has lost reception with the network and the NVR/DVR.
Step #3: Assign a New Static IP:
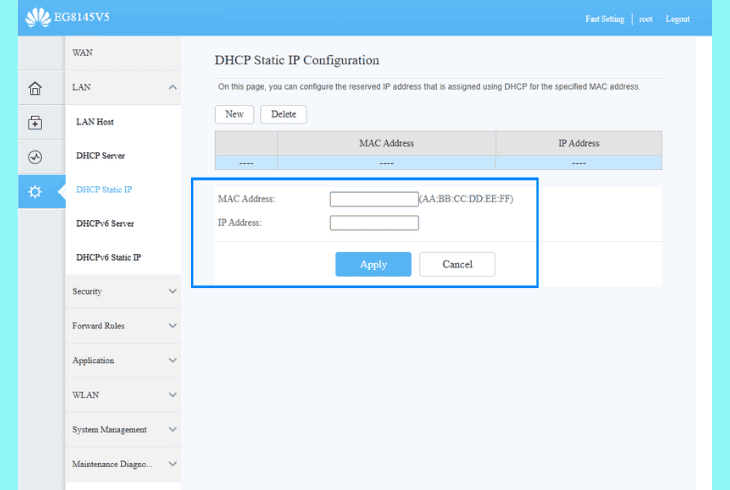
Now, select “Assign New Address,” set a new IP starting with “192.168.1” followed by a unique identifier based on the MAC address, then save the changes.
Well, the Night Owl cam will disconnect shortly, so wait for approximately ~2–3 minutes before checking if the error is resolved.
Note: Repeat the instructions above for each Night Owl camera that has lost signal.
5. Reconnect the NVR/DVR Ethernet (Wired & Wireless)
The NVR/DVR might have lost connection to the router, disrupting the link of each connected Night Owl camera.
The next step is to reconnect the Ethernet cable of the recorder to the router physically to reset the connection.
Hence, unplug the Ethernet cable from the NVR/DVR and router, wait for 30–45 seconds, and reconnect it on both ends.
Wait until the NVR/DVR reconnects with the network and check the status of your Night Owl cameras.
6. Update the Night Owl NVR/DVR OS Version (Wired & Wireless)
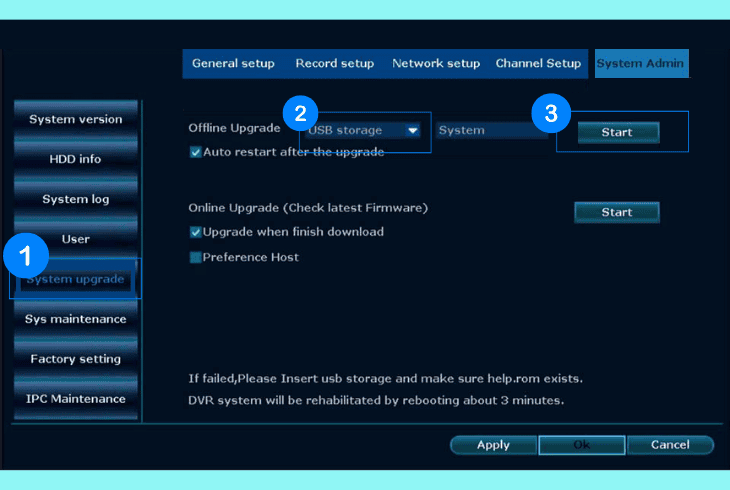
An outdated firmware is often the reason people ask Night Owl camera says no signal, especially if all of the units in your NVR/DVR network have also lost reception.
All you need to do is a manual update from a computer using a formatted 4–8 GB USB flash drive.
Here’s how to update the Night Owl NVR/DVR in easy steps:
- Visit the Night Owl support page, click the Update Firmware link, and save the .iso file on your PC.
- Insert a FAT32-formatted USB flash drive into your computer, then drag the firmware file to upload it.
- Power on the recorder, confirm the live image on your TV/monitor, and insert the USB into the unit.
- Open the NVR/DVR menu, right-click to open the Main Menu, and go to Firmware Upgrade NVR.
- Select Manual Upgrade or Upgrade from USB, choose the firmware file, and press “Upgrade”.
- Wait until the firmware update progress bar fills up and allow the NVR to reboot, then eject the USB.
- Power cycle the recorder by unplugging it for ~30 seconds, reconnect, and test the camera signal.
Alert: Stop all interactions with the NVR/DVR during the firmware update to avoid cancellation!
7. Inspect the Monitor Video Cable (Wired & Wireless)
If the no signal error affects all of your connected cameras and is also accompanied by a “NO SIGNAL” message on the monitor, the monitor may have disconnected from the NVR/DVR.
The problem is often caused by the video cable used by the monitor to connect to the recorder.
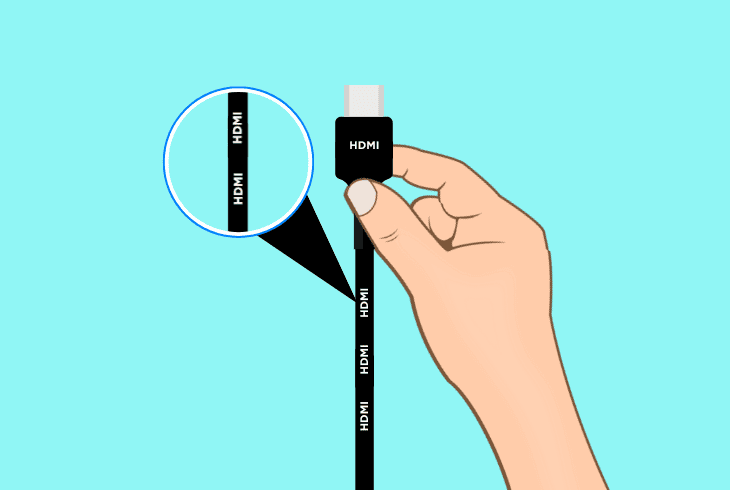
Ensure the video cable (HDMI or VGA) connecting the monitor to the NVR/DVR is securely plugged in at both ends and check for damage.
Try connecting the monitor using an alternative video cable and test the monitor on another device to check if there will also be an error.
8. Reset the Recorder to Default Settings (Wired & Wireless)
A factory reset can often resolve the Night Owl no signal all cameras issue by restoring the recorder to default settings.
This procedure erases all content and settings from the NVR/DVR recorder, so only proceed with the instructions if you are confident about losing all information.
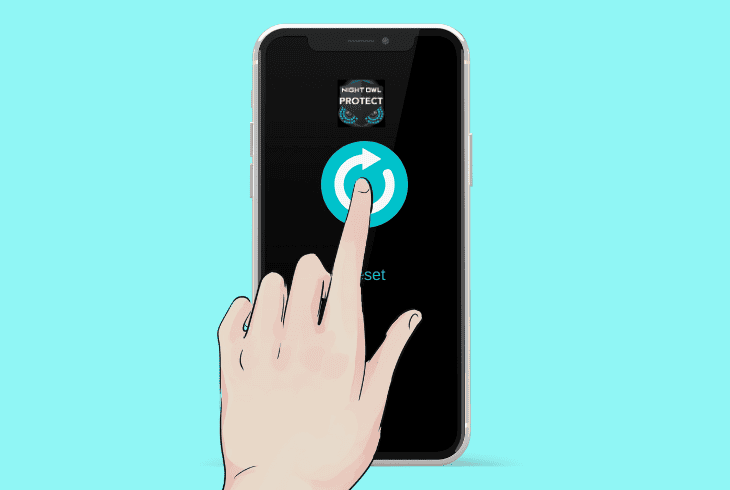
- First, remove the recorder from the Night Owl Protect App.
- Click the “Tools” icon to open the Main Menu on the recorder.
- Press on “Reset” at the bottom of the list to initiate the reset.
Now, set up the recorder initially and re-add each of the cameras to test.
If the issue persists, do not hesitate to get in touch with Night Owl customer support.

Finn Wheatley, a Master’s graduate in Computer Science from UCL, London, honed his skills at small data science consultancies. There, he helped large corporations enhance their data capabilities by deploying cutting-edge machine learning analytics and resolving technical hurdles.


