Night Owl DVR Power Light Blinking Red? (Here’s the Fix!)

Many users might be confused by the Night Owl DVR power light blinking red and whether it endangers the security of their premises.
However, we are relieved to inform you that the red flashing light on your Night Owl DVR is nothing serious, under several conditions.
In short, the Night Owl DVR “Power” LED represents the hard drive status.
A flashing DVR “Power” lamp means that the hard drive is currently under a system load and storing the footage captured by your Night Owl cameras.
To learn more about the status lamp and potential solutions, advance further into the guide!
Night Owl DVR Power Light Blinking Red – 8 Easy Solutions
Note: Have you checked if the DVR status is “Online” within the mobile application?
1. Temporarily Unplug the Night Owl DVR
If the lamp on your DVR is longer than the recording duration and storage of the footage, your recorder might be signaling an alternative problem.
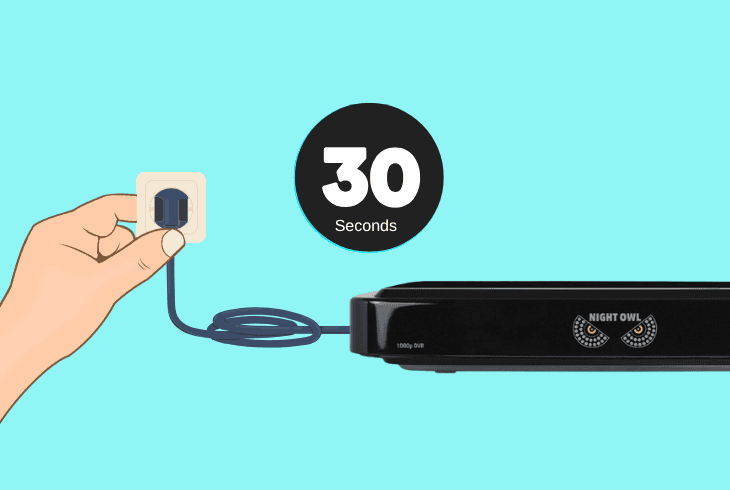
In such a case, we recommend conducting a clean hard reset by suspending the power to the DVR.
Follow these steps to power cycle the Night Owl DVR:
Then, monitor your DVR to ensure the blinking stops, and in the meantime, check for any new recordings captured by the Night Owl cameras.
If new footage files are showing up consistently, it means there is persistent motion detection, therefore, recording.
2. Pause the DVR Recording Schedules
The red flashing light might be persistent due to a 24/7 recording schedule.
As established, the “Power” indicator signals the load of the HDD, which will be consistently utilized under 24/7 recording conditions.
To determine if recording causes the problem, we recommend temporarily pausing all of the DVR recording schedules manually.
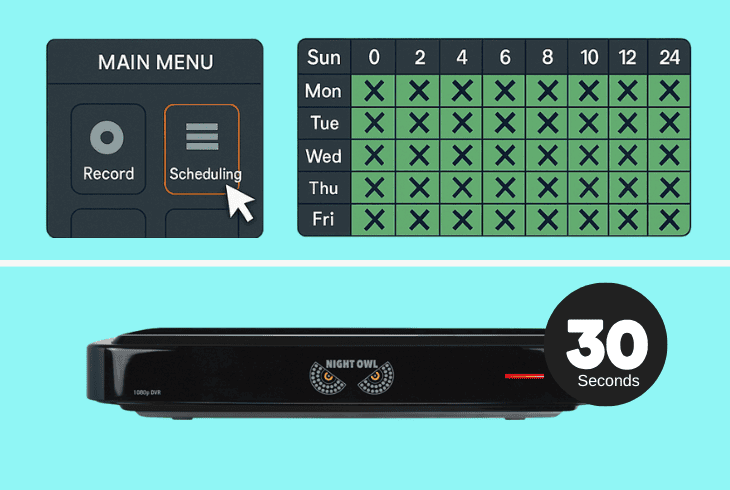
Here’s how to pause the Night Owl DVR recording:
Wait for about ~20–30 seconds after rebooting your DVR and check if the LED starts blinking, turns solid red, or does not illuminate at all.
Note: The absence of the red light means that the problem was indeed caused by the continuous recording of the DVR. If not, proceed with the next step…
3. Unplug All of the Night Owl PoE Cameras
The red light could also indicate a potential problem with the PoE connection in any of the Night Owl cameras.
The PoE connection (Power-over-Ethernet) supplies both power and data to the cameras, which in a sense “allows” the HDD to start overwriting footage.
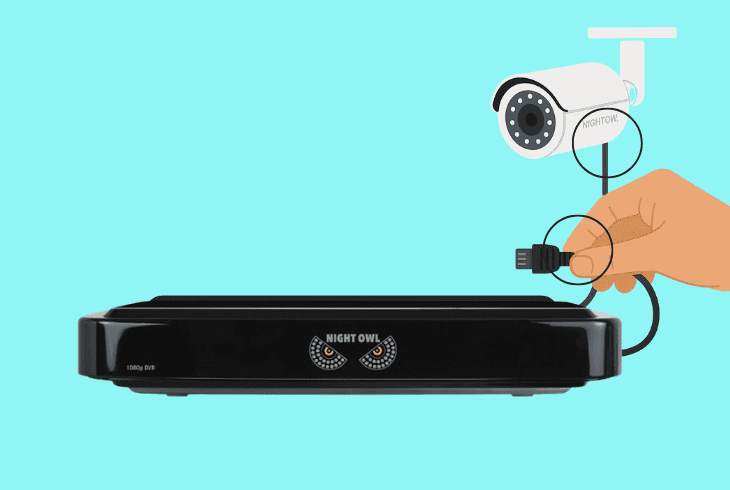
Let’s determine if disconnecting the cameras solves the problem:
After reconnecting, monitor the behavior of the “Power” lamp and determine if there will be a shift in the status.
If the issue persists, then the problem might be with the motion detection…
4. Temporarily Disable the Motion Detection
An active motion detection allows the Night Owl camera to continuously record upon detecting movement, which can sometimes result in a consistent red light.
Disabling this feature via the Night Owl app or DVR client can reduce the HDD usage by preventing motion-triggered events.
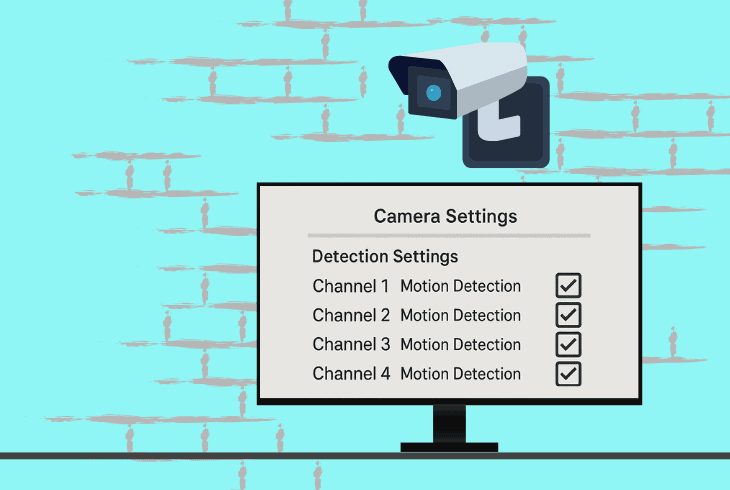
Here’s how to disable the Night Owl DVR motion detection:
Now, confirm the power light stops blinking red and check for any notifications or push alerts appearing on your smartphone, as a result of motion detection.
If all notifications are absent, then your system is currently operating without detecting motion.
Note: Do not re-enable the motion detection before the cause of the problem is discovered.
5. Check if the DVR “Overwrite” is Enabled
The Night Owl DVR red light blinking issue might occur if the NVR/DVR hard drive is full and overwrite is disabled, which prevents the system from storing new footage.
This way, the HDD status is under pressure by attempting to store the newly captured recordings all the time.
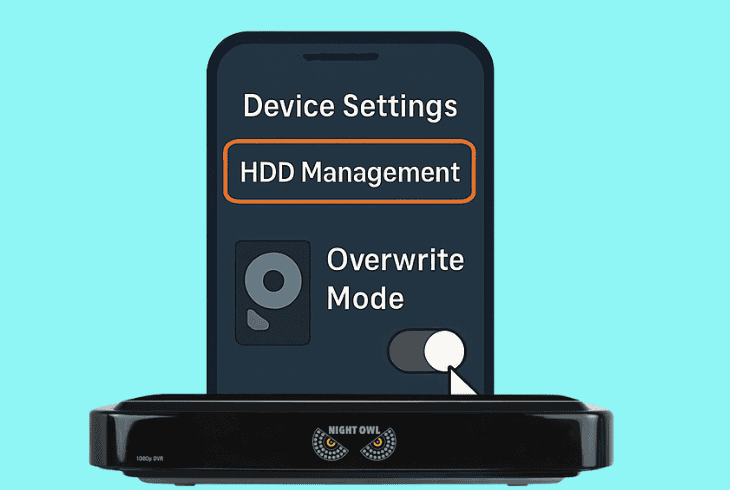
Here’s how to set the “Overwrite” feature to “On” on your DVR:
Tip: You could also set the “Overwrite” function to “On” through the Night Owl app settings.
6. Upgrade the Night Owl DVR Firmware
Updating the firmware can address a variety of issues with your Night Owl DVR, impacting the system, HDD, or the cameras.
All you will need is a USB flash drive and a PC to download and transfer the firmware file for updating your DVR.
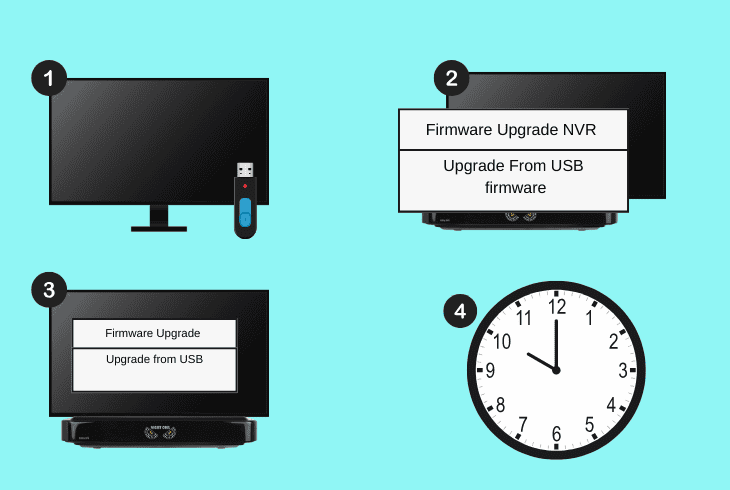
Follow these steps to upgrade the Night Owl DVR OS:
Note: The update might last for about ~3–4 minutes, so cease all interactions with the DVR!
7. Remove the Night Owl DVR Hard Drive
Perhaps removing the HDD can help diagnose the problem by eliminating underlying faults with the DVR.
Since the “Power” indicator is HDD-related, if removing the HDD prevents the LED from illuminating, then the issue is storage-related.
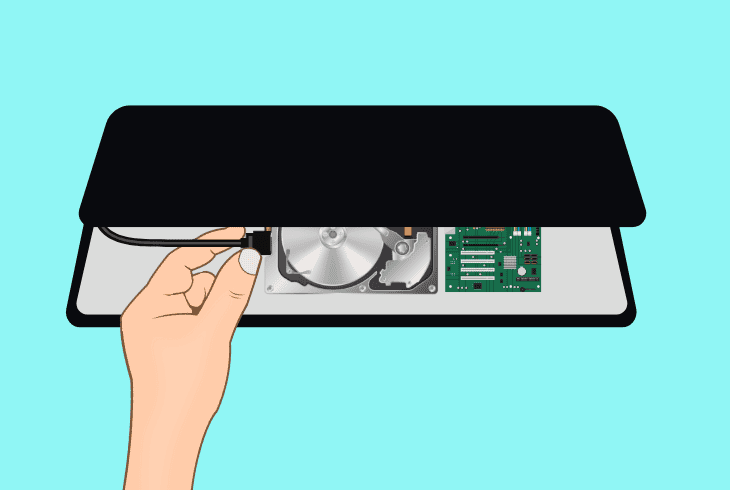
Follow these steps to safely remove the Night Owl HDD:
Note: If the DVR fails to reboot without the HDD, attempt to boot the device under “Safe” mode by holding the physical “Power” button for 10–15 seconds. This might not work on all models!
8. Reset the Night Owl DVR to Defaults
If the Night Owl DVR power light is blinking red despite all of the resolution attempts so far, it is time for a factory reset.
This process is model-dependent and requires locating the Reset button on your specific Night Owl DVR model.
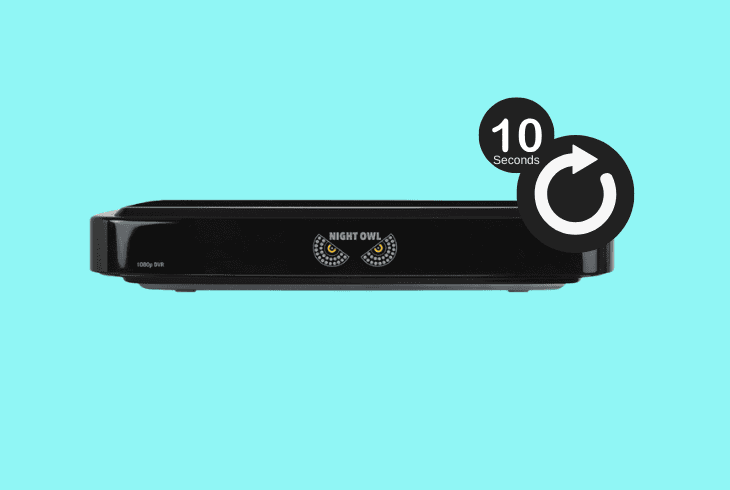
Find the reset button on your Night Owl DVR (on the side or rear) and hold it for about ~10 seconds using a paperclip or similar tool until the device restarts.
After the reset, reconfigure all of the DVR settings and check if the “Power” indicator is still flashing red.
Well, if it does, seek professional assistance from Night Owl customer support.

Finn Wheatley, a Master’s graduate in Computer Science from UCL, London, honed his skills at small data science consultancies. There, he helped large corporations enhance their data capabilities by deploying cutting-edge machine learning analytics and resolving technical hurdles.


