Why Does PS5 Controller Battery Dies Fast? (Here’s the Fix!)
We know how frustrating it is when your PS5 controller battery dies fast, no longer providing you with the gaming time you had when it was new.
Don’t worry–if the battery of your DualSense controller is not completely depleted, there are a few easy ways to prolong its longevity by a lot.
This guide will walk you through everything from minimizing the battery drainage to replacing the DualSense controller battery.
Let’s first find out what’s wrong and decide how to solve it.
PS5 Controller Battery Dies Fast – How to Improve Longevity!
Note: The PS5 DualSense controller is charging when the light is slowly pulsating orange.
1. Switch the Charging Method
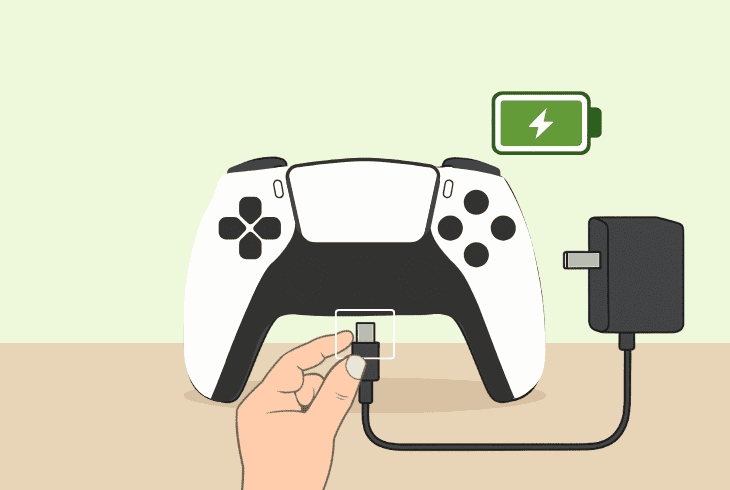
If the PS5 DualSense controller is dying fast, the first thing to do is switch the charging method to avoid a potential power deficiency.
Yes, this is the correct approach, even if your controller shows 100% battery on your PS5 screen when you start playing.
There are many ways to charge your controller:
Try different charging methods to check whether the controller battery will drain fast anyway!
⚠️Stop Using Charging Dock!
According to many users with the same problem, using the DualSense™ Charging Station over the years, the charging becomes insufficient.
It’s not necessarily for your DualSense controller to be damaged internally, but maybe charging from the station can’t provide sufficient battery charge.
In short, try charging your controller without the station!
2. Stop Power Drainer Settings
If your PS5 controller battery dies quickly, unfortunately, this may be normal. It really depends on how fast the battery goes down.
For instance, if your controller dies within minutes, this is not normal even after years of usage. However, if the battery dies for 2 hours, yes, this is how batteries work–they degrade over time.
Well, don’t be disappointed, there are many ways to boost the battery longevity and lasting time!
2.1 – Disable Auto Microphone
By default, your PlayStation 5 controller microphone will be activated upon signing in. This is what drains a bit of your battery, so disabling it should help.
Here’s how:
- Go to “Settings” → “Sound” → “Microphone” and set the “Microphone Status When Logged In” to “OFF”.
The microphone of your DualSense controller will no longer work unless you enable it again.
2.2 – Mute Controller Speaker
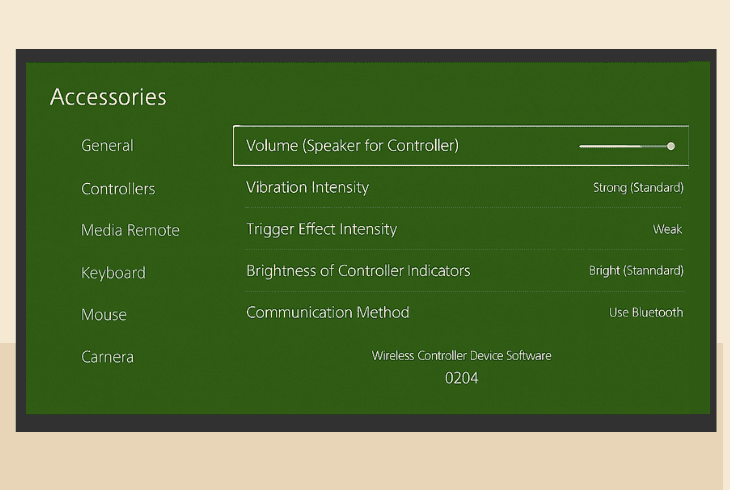
When you’re playing games, your controller occasionally produces sounds that are like a giant battery drainer. Disabling it will surely increase the battery life.
Here’s how:
- Go to “Settings” → “Sound” → “Volume” and drastically decrease, or completely mute, the “Controller Speaker”.
Your PS5 DualSense controller will no longer produce sound unless you increase the volume.
2.3 – Decrease the Brightness
The brightness of your DualSense controller is another vital factor that impacts the battery life, so lowering the brightness is a guaranteed way to increase the battery life.
Here’s how:
- Go to “Settings” → “Accessories” → “Controller” → “Brightness of Controller Indicators” and choose “Medium” or “Dim”.
2.4 – Stop Vibration and Haptic
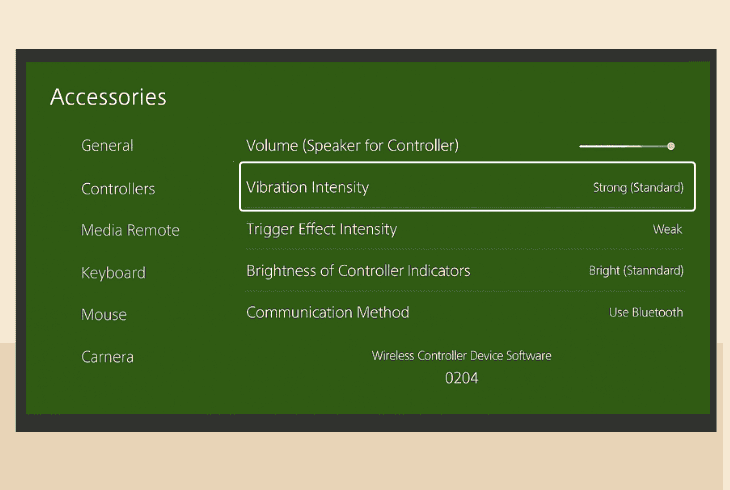
The vibration and haptic feedback of your DualSense controller is probably the biggest battery drainer there is, so disabling it will increase the battery life.
Here’s how:
- Go to “Settings” → “Accessories” → “Controller” → “Vibration Intensity” and set the feature to “OFF”.
The PS5 controller will no longer vibrate under any circumstances, unless you switch it back on.
3. Reset DualSense Controller
Another thing to try against the unbearable PS5 controller battery drain is to reset the controller, which will address potential software issues.
The reset will unpair your DualSense controller from the PlayStation 5, and later you’ll need to pair it again by connecting it via USB cable.
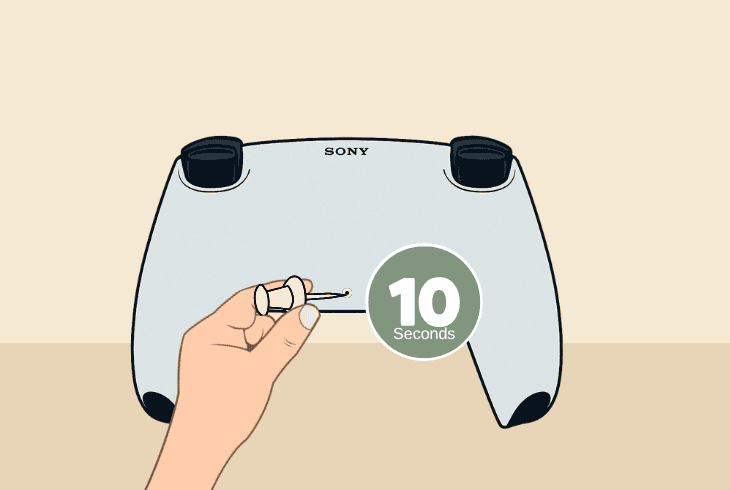
Here’s how to factory reset the PS5 DualSense controller:
- Flip the DualSense controller upside down.
- Locate the small pinhole on the back side.
- Use a pointed tool to reach within the hole.
- Now, push down for about 10–15 seconds.
This should factory reset your controller.
When ready, pair it to the console and try gaming for some time to determine whether the battery depletion issue continues.
4. Calibrate Controller Battery
Another thing you should try before concluding and proceeding with warranty reclamation or battery replacement is to calibrate the battery.
What you need to do is allow your controller battery to reach ground zero (0% battery) and turn off by itself.
We assume that would be an easy thing to do.
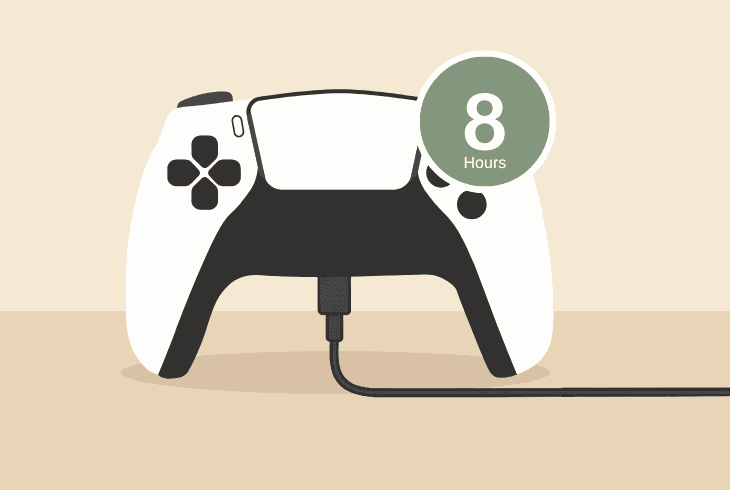
When the controller dies completely, plug it into an electrical outlet via a USB adapter and let it charge overnight (more than 8 hours).
This is a timely process, but it’s the only thing you can do before taking drastic steps.
If this fixes the issue, congratulations, it was a battery cell defect. If not, however, you’ll need a HW repair.
5. Replace the Controller Battery
If nothing helps and your PS5 controller battery dies fast, you can replace the battery on your own by following the correct instructions.
We’ve prepared an ultra-detailed guide that will walk you through every step of the process and make sure that you do everything correctly.
⚠️Warning: Opening up the DualSense controller immediately voids the warranty, so proceed with caution!
✅ Turn Off the Controller
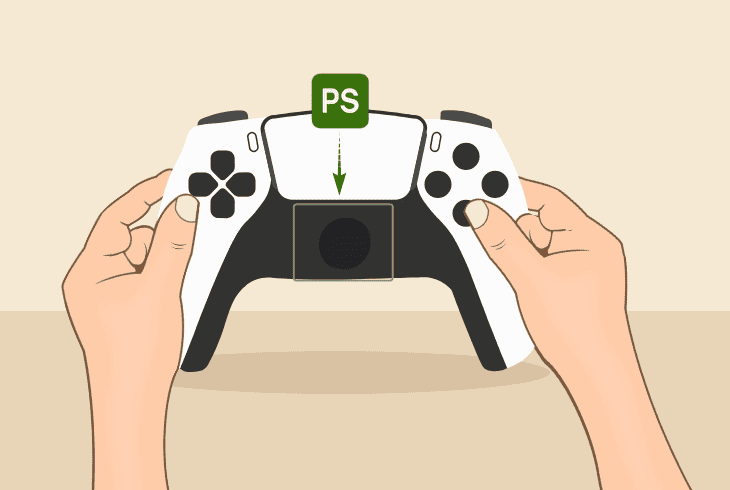
The most important step is to verify that the controller has been fully turned OFF by holding the “PS” button.
✅ Acquire the Needed Tools
The next step is to acquire a small Phillips screwdriver and something for prying, such as a knife or anything else that is suitable.
✅ Remove the Black Trim
Now, let’s start opening up the controller. The first thing to do is remove the black trim around the joysticks.
Here, you would need to use the knife to slowly go around the entire trim, but be careful to avoid damaging the clips.
✅Unscrew the Fasteners
When you successfully remove the trip from the controller, you will reveal two screws that you can undo with the Philips screwdriver.
Once done, you can easily remove the L1 and R1 buttons so you can also undo the additional screws.
✅ Separate the Side Panels
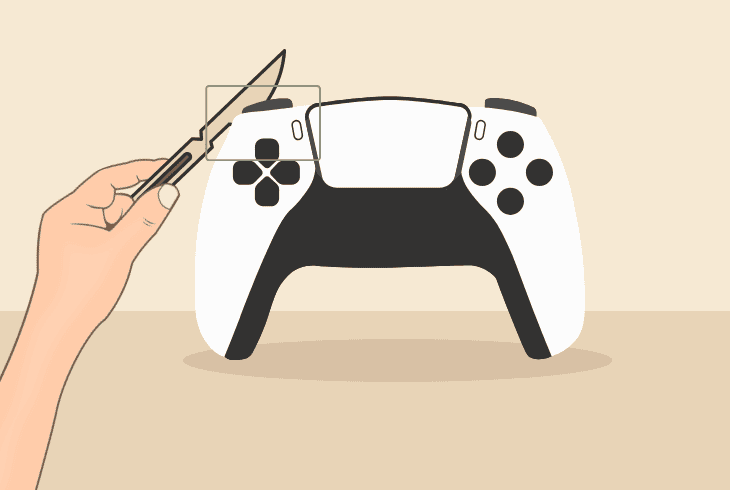
The next step is to start separating the panels, again using the knife. You must be careful here as you are releasing the clips near the top of the panels.
You must not force them, or they will break, preventing you from assembling the controller.
When ready, repeat for the other side.
✅ Remove the Rear Cover
When the clips are disengaged, gently wiggle and lift the back panel to detach it. Take care to navigate around internal tabs, proceeding slowly to avoid damaging the components.
✅ Disconnect the Old Battery
Locate the battery in the central compartment. Carefully unplug its connector, noting the wire orientation (e.g., red wire on the left). When you’re ready, remove the battery from its slot.
✅Embed Replacement Battery
Connect the new battery, ensuring the wire colors align with the original configuration. Then, secure the wires by putting them under the small retaining hook on the right side.
Note: If your replacement battery is not original, it may require some force to fit in.
✅ Reassemble the Back Panel
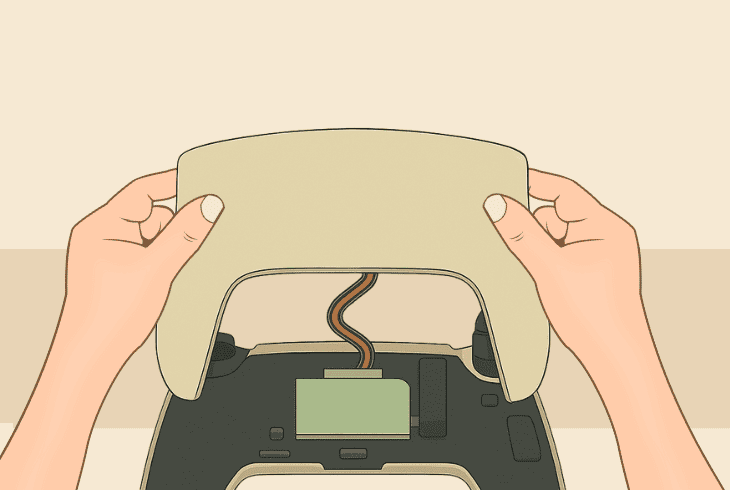
Position the back panel accurately and press it into place, ensuring all tabs click securely. Go slowly to avoid damaging wires or misaligning them.
✅ Secure Screws and Buttons
Reinstall the four screws—two at the top and two under the L1 and R1 buttons. Then, firmly snap the L1 and R1 buttons back into their positions.
✅ Reattach the Black Trim
When everything is done, align the trim over the joysticks and press it gently until it snaps fully into place.
Note: If you feel like you can execute the steps on your own, you can purchase a PS5 DualSense Controller Battery and save this guide for when you’re ready for the operation.

Finn Wheatley, a Master’s graduate in Computer Science from UCL, London, honed his skills at small data science consultancies. There, he helped large corporations enhance their data capabilities by deploying cutting-edge machine learning analytics and resolving technical hurdles.


