How To Fix Mic On PS5 Controller? (Quick and Easy Fix!)
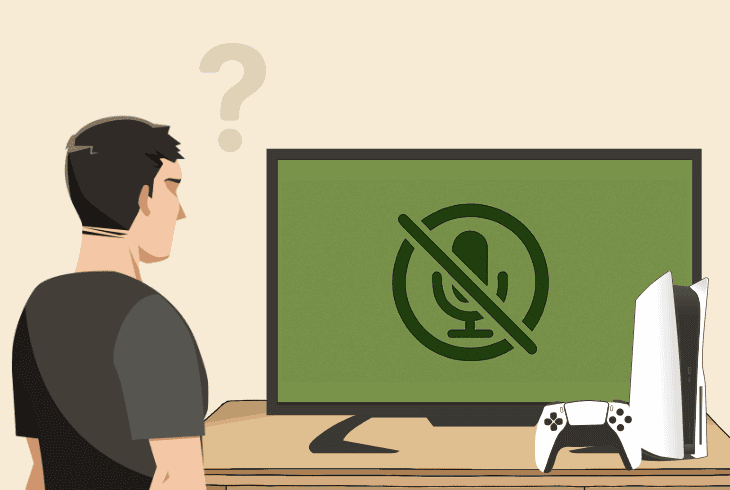
If you’re wondering how to fix mic on PS5 controller, whether it’s too quiet or not working at all, this guide will help you out.
We’ve prepared an ultimate guide that will walk you through the configuration, troubleshooting, and hardware inspection of your PS5 DualSense controller.
Without further ado, let’s get started!
How To Fix Mic On PS5 Controller in 10 Quick & Easy Steps?
Note: Have you tried holding the “PS” button to restart your DualSense controller?
1. Unmute the Controller Microphone
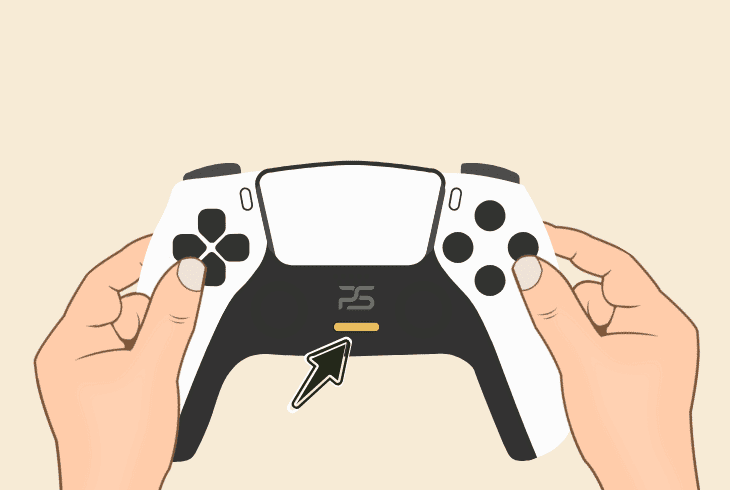
The first thing to do is to manually unmute your DualSense controller microphone!
To do so, you’ll need to short-press the “Mute” button, located just below the “PS” button on the DualSense controller.
When the lightbar turns orange, it means that the microphone is unmuted.
Note: Holding the “Mute” button for longer will suppress the audio outputs and microphones connected to your PlayStation 5 console.
2. Choose Controller as Input Device
If your PlayStation 5 controller microphone is not working, perhaps there is a different device selected as the default input in your console settings.
Well, you need to select the connected controller as the input device for your PS5, so the microphone becomes active while gaming.
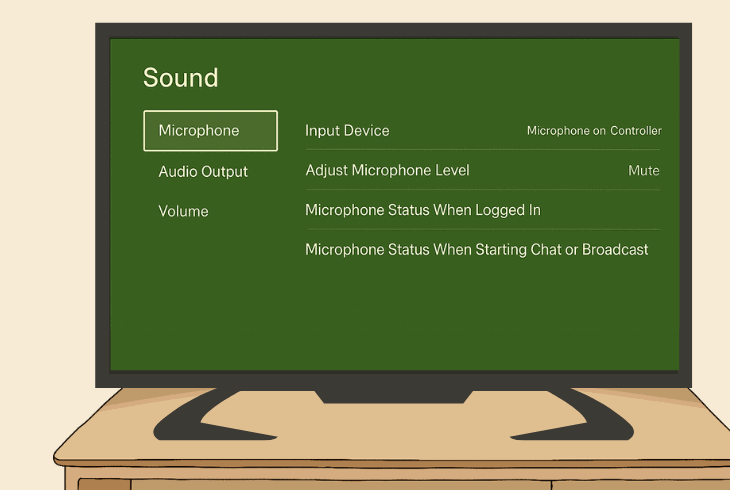
Here’s how:
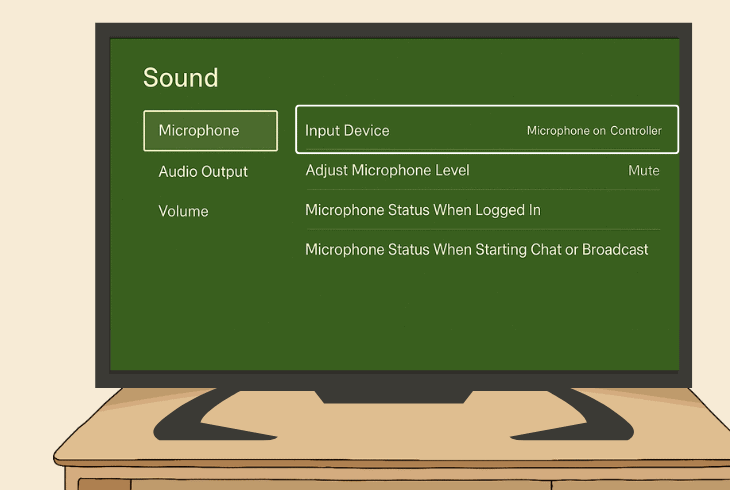
From the main menu, go to “Settings” → “Sound” → “Microphone” → “Input Device” and select “Microphone on Controller”.
3. Configure the Microphone Settings
The reason why your PS5 controller mic not working could be due to settings that make the microphone very quiet or muted automatically.
Go to “Settings” → “Sound” → “Microphone” and check the following:
Adjust Microphone Level
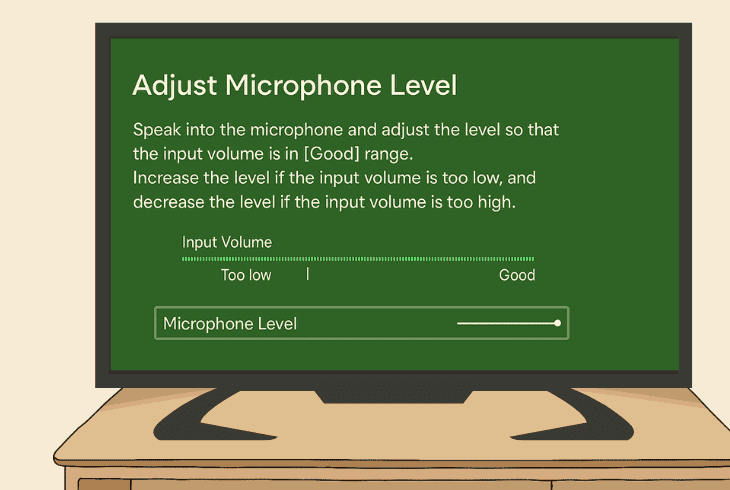
The volume level is how loud the DualSense controller is when you speak into it. This is the sensitivity of the voice input.
Hence, you must increase the volume level to verify that your microphone is not too quiet for your voice to be heard.
Tip: Here you can speak into the microphone to test the current input volume and whether it works!
Tweak Microphone Status
You’ll see two settings below the microphone level:
Now that your controller mic is software-unmuted from everywhere, test whether it will work!
4. Change In-Game Specific Settings
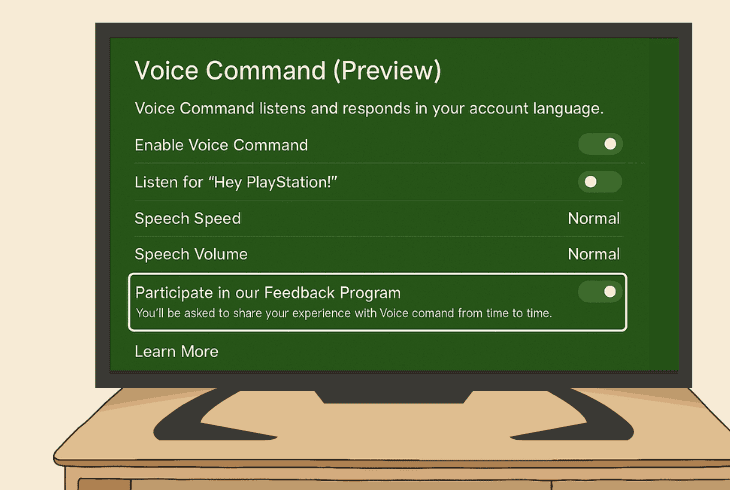
Sometimes, whenever the PS5 controller mic is not working, the game you’re playing could be suppressing your PS5 input device.
These options are typically found in the “Audio” section within the game’s specific settings.
Those settings typically include:
Well, the great conclusion here is that every game provides specific settings that only affect this game, and your DualSense controller mic could be muted from there.
If you’re facing the issue in only one game (or you haven’t tried yet), check the microphone options in the Voice Chat tab.
Note: In some games, the section may not be called “Voice Chat”, it could be “Microphone Settings”, “Input Options”, “Voice Settings”, etc.
5. Disconnect All Other Input Devices
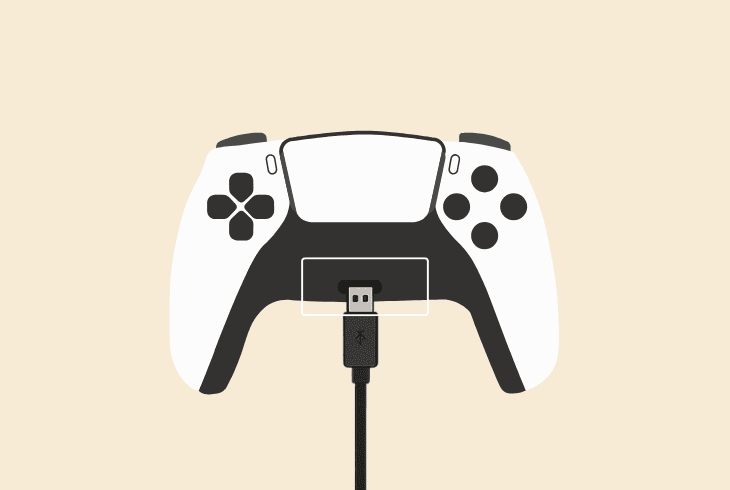
The issue with your DualSense controller microphone could be due to other input devices that are interfering, so we recommend unplugging them all.
This includes HDMI devices, AUX cables connected to your DualSense controller, USB input microphones and speakers, and of course, anything from the USB-C port.
When only the Power and HDMI cables of your PS5 remain, try to unmute your microphone and test if it works.
If yes, connect your devices one by one to identify where the issue comes from.
6. Clean your Controller’s Microphone
Sometimes, the microphone of the DualSense controller could be clogged with dust and debris, which will make it super quiet, like it’s not working.
So, we recommend using a toothpick to unclog all holes and openings to verify that nothing is covering the microphone.
However, be extremely gentle when cleaning to avoid damaging it.
⚠️Remove Controller Covers!
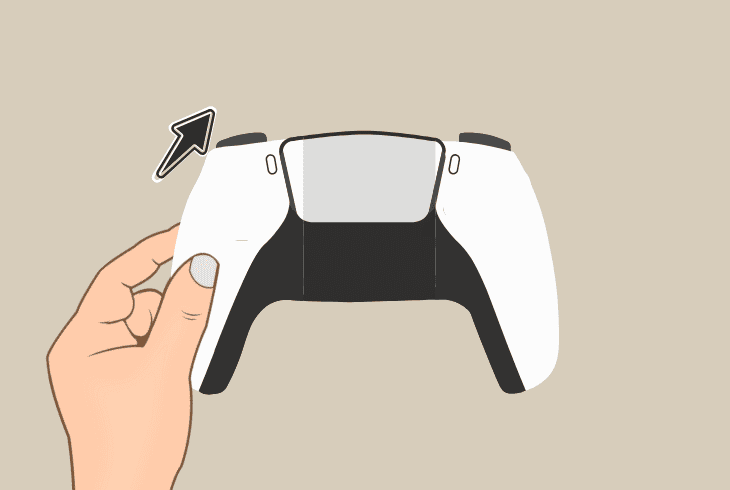
On some rare occasions, with aftermarket controller cases and covers, the microphone of your DualSense controller could be blocked.
That’s why we strongly recommend removing controller covers and cases, and then testing from the “Adjust Microphone Level” pane in the settings.
7. Reset the PS5 DualSense Controller
In some rare cases, a software bug with the DualSense controller or pairing can cause your microphone to stay deactivated.
That’s why the best course of action would be to reset your DualSense controller to its defaults.
The only drawback here is that the controller will be unpaired.
7.1 – How to Reset the Controller
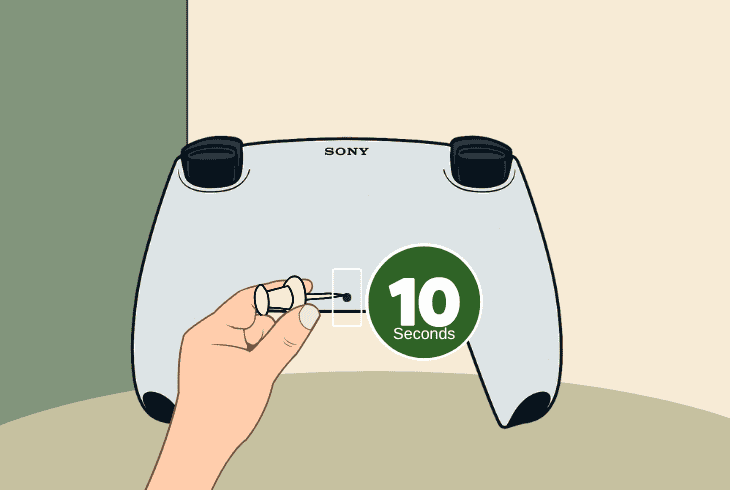
To reset your DualSense controller, turn off your PS5, unplug the controller, and make sure that it is turned on and working.
Then, using a clip or a toothpick, reach within the small pinhole on the back and push for about ~5–10 seconds.
7.2 – How to Pair your Controller
When the reset is ready, connect your controller to the PS5 console via USB cable and press the “PS” button to pair your DualSense controller.
Now, test whether the microphone is working through the “Adjust Microphone Level” section!
8. Test Different DualSense Controller
If you have a secondary DualSense controller, now is the time to connect it to your PS5 and test whether the microphone works.
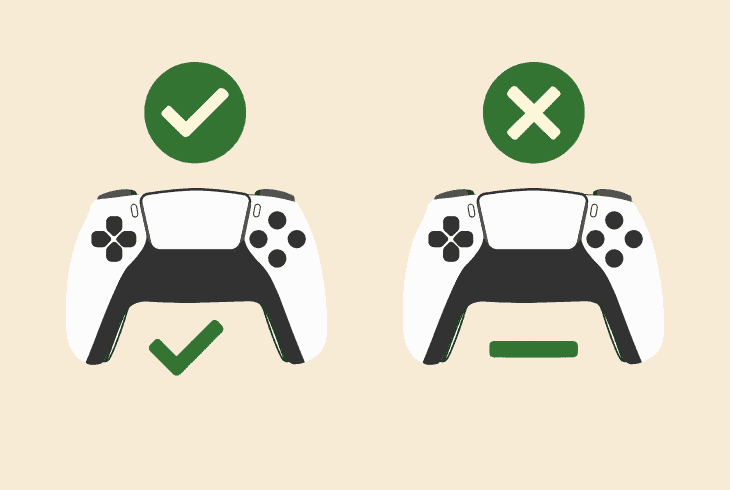
There are two possibilities:
How to Test DualSense Mic on PC?
Well, you can easily test whether the microphone of your controller works by connecting it to a Windows PC via a USB cable.
You can then select the new input from “System” → “Sound”.
Then, speak into the microphone and watch the “Volume” bar to determine whether it works!
9. Reconnect the Controller Microphone
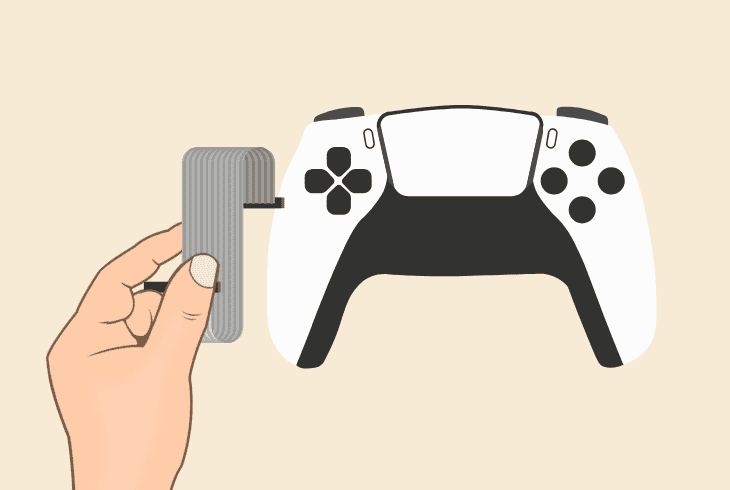
If you smashed the DualSense controller to the ground and now the microphone is not working, the microphone ribbon cable has likely been disconnected.
Well, the only way to fix the issue is to open up the DualSense controller at home and reconnect the cable by following the precise instructions below:
⚠️Warning: Opening up your DualSense controller instantly voids the warranty!
9. 1. Remove the Face Trim
Use a knife to carefully pop off the black center trim piece around the joysticks. Start from underneath the analog sticks and gently work your way around.
9. 2. Unscrew the Back Shell
After removing the trim, you’ll see 4 screws—two near the L1/R1 buttons and two at the bottom near the handles. Use a small Phillips screwdriver to undo them.
9.3. Remove the Front Shell
Gently separate the back shell from the front. Work from the bottom near the headset jack, then use the knife along the seams to release the clips.
9.4. Lift off the L1/R1 Buttons
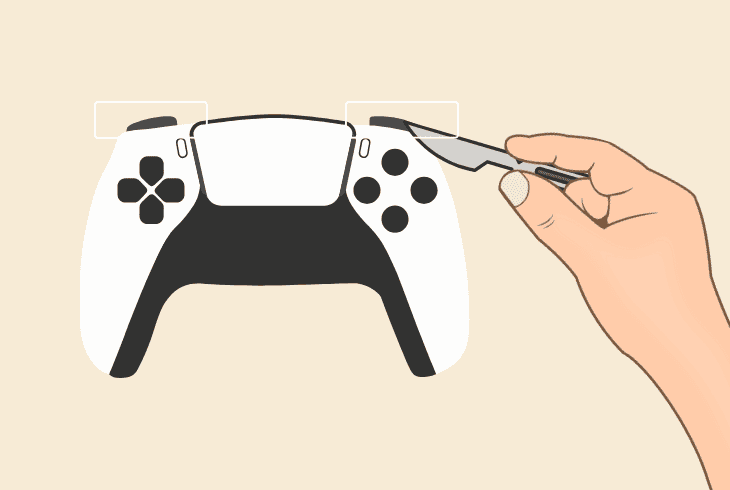
Slide off the L1 and R1 buttons by gently sliding the knife under them. Well, they are clipped in but not screwed down, so they’ll come off with a bit of pressure.
9.5. Find the Microphone Cable
Carefully disconnect the battery plug from the motherboard. Then look for the ribbon cables. The microphone cable is near the microphone “Mute” button.
9.6. Reconnect the Ribbon Cable
If the microphone cable is unplugged, congratulations, you have found the problem. If it’s connected, gently pull out to disconnect it and then reconnect it.
When you’re ready, reconnect all cables, reinstall the battery, and assemble the controller parts back together as they were.
You can follow the steps in reverse. Then test your microphone in the “Adjust Microphone Level” section!
10. Use a Wired Headset (Workaround)
Well, at last, if you don’t know how to fix the mic on a PS5 controller, you can always connect a headset or a standalone microphone to your controller or PS5.
- If you’re using the PS5 console, you’ll need a USB microphone/headset.
- If you’re using the controller, you will need an AUX microphone/headset.
When you have your new input piece of equipment connected, it’s time to enable it by going to the “Settings” → “Sound” → “Microphone” → “Input Device” and choosing it.
The final step to undertake is adjusting the sensitivity, and you’re ready.
Note: If you haven’t damaged the DualSense controller, but the microphone is not working, check your warranty or get in touch with PlayStation®5 Support.

Finn Wheatley, a Master’s graduate in Computer Science from UCL, London, honed his skills at small data science consultancies. There, he helped large corporations enhance their data capabilities by deploying cutting-edge machine learning analytics and resolving technical hurdles.


