Sony Bravia Best Picture Settings – (For Stunning Quality!)
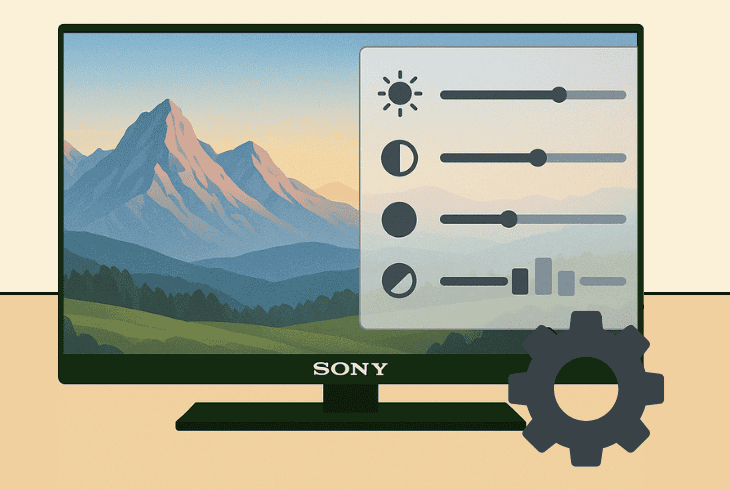
If you want to discover the Sony Bravia best picture settings, you’ve just found the ultimate guide that will walk you through each available setting.
We’re going through everything from the Picture Modes to complete custom configuration that involves Brightness, Color, Clarity, Motion, and Video Signal.
Let’s get started with the most important first…
Sony Bravia Best Picture Settings – Automatic & Custom!
When configuring your Sony Bravia TV picture settings, you’ve got two options: select a picture mode or configure each setting individually.
The Picture Modes are a preset of settings precisely configured for different viewing occasions, like watching movies, sports, or viewing photos.
In contrast, a custom preset allows you to see and tweak each individual setting of your Sony Bravia TV to fine-tune your viewing experience.
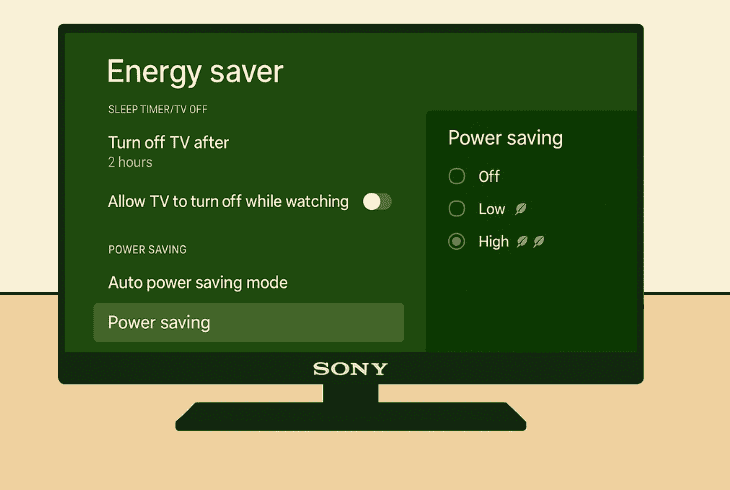
⚠️Important: To achieve the best viewing experience, make sure to disable the “Power Saving” at “Settings” → “System” → “Power & Energy” → “Energy Saver”.
Let’s first check the Picture Modes…
Sony Bravia Picture Settings [Automatic]
If you don’t want to get into the deep configuration of each picture setting, you can just choose a Picture Mode that suits your viewing best.
Changing the Picture Mode affects the majority of settings, such as color, motion, sharpness, gamma, brightness, and more…
Let’s walk you through the available picture modes…
⭐Standard
The Standard picture mode provides the most balanced configuration possible, designed to be suitable for any type of content.
So, if you want a natural experience across everything that you are watching, choose this mode and never touch the settings again.
⭐Cinema
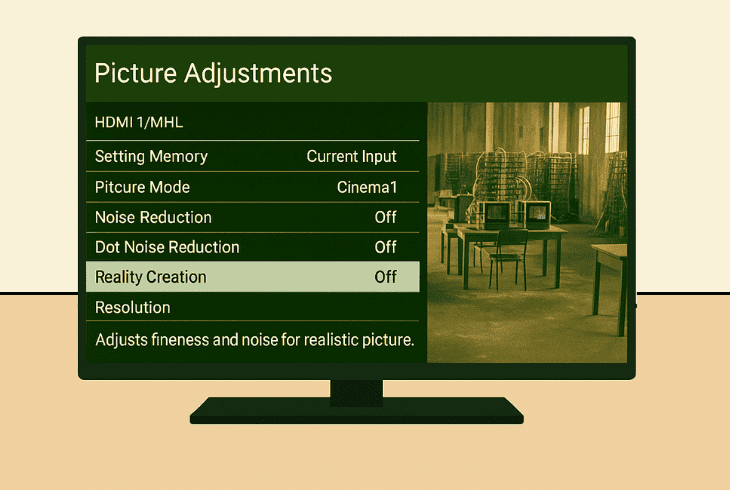
The Cinema picture mode is designed for watching movies and TV shows, providing a cinema experience at home.
In short, the tones get warmer, the motion is smoother, making it ideal for home theaters and cozy evenings for your favorite movies and shows.
⭐Professional
The Professional picture mode is designed for ultimate accuracy.
If you want to view a movie the exact way creators meant it to be seen, then choosing Professional won’t let you down.
In short, this preset offers unprocessed visuals for everything you’re viewing.
⭐Calm
The Calm picture mode is a preset of settings that provides you with soft colors and brightness for relaxing your eyes.
It’s perfect for people who fall asleep while viewing, since it reduces the blue color intensity (which won’t let you sleep) and decreases eye strain.
⭐Photo
The Photo picture mode, as self-explanatory as it can be, is designed for viewing still graphics.
It provides immense detail and sharpness when viewing photos, offering the natural colors of the captured environment, and displays it with high resolution on your TV.
⭐IMAX Enhanced
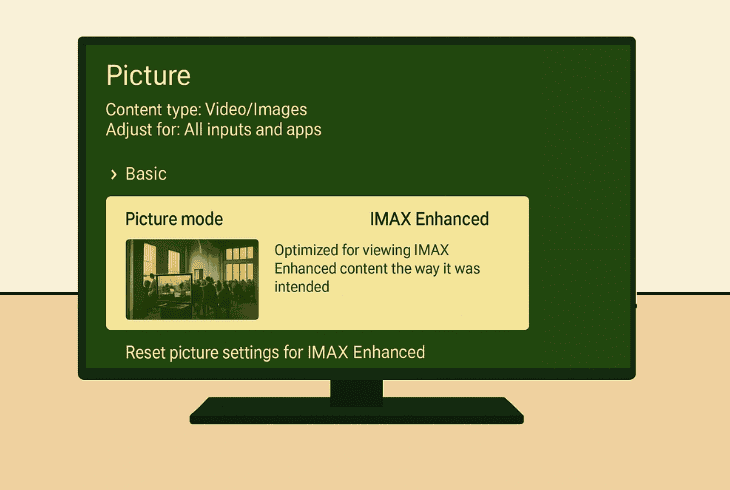
The IMAX Enhanced picture mode is designed for specific IMAX-formatted content, which will affect the aspect ratio and enrich the media with vivid visuals.
We don’t recommend using this picture mode as the default, since it won’t fit well with most of your content.
Sony Bravia Picture Settings [Custom]
If you’re curious to explore all the individual picture settings of your Sony Bravia TV and achieve stunning quality, we’re going to walk you through all of them.
Open the Menu, and go to “Picture & Sound” → “Picture” and choose a “Custom” preset that you’ll be tweaking the settings for.
This way, you can later change or keep using this adjustment.
⭐Brightness
The Brightness tab offers a wide range of options, each of which is critical for the TV quality:
Brightness (SDR)
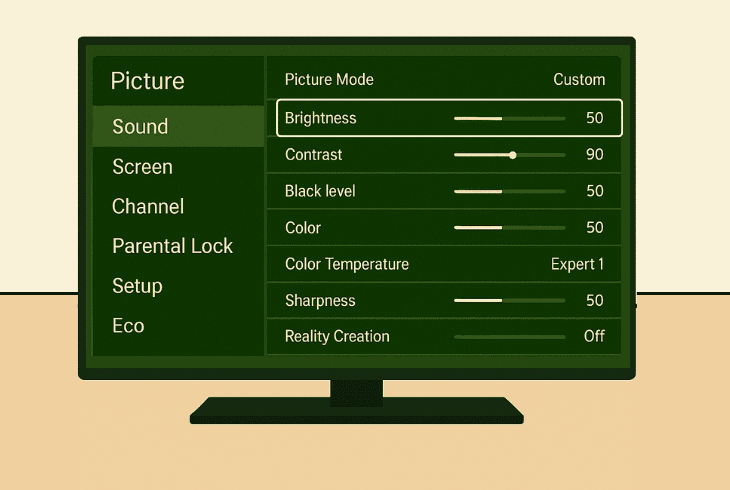
The Brightness (SDR) changes the overall strength of the backlight, which is what illuminates the pixels of your TV screen.
Hence, this determines how dim or bright the TV picture appears.
The best adjustment for stunning quality would be ~35-50 for SDR in most rooms, or max for HDR to ensure vibrant highlights.
Contrast (SDR)
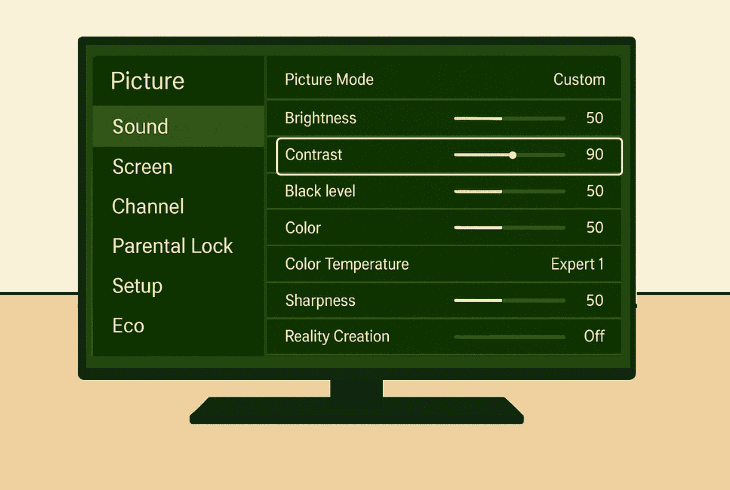
The Contrast (SDR) optimizes and boosts the difference between the lightest and darkest TV screen areas to produce sharper images. Set to ~80-90 to boost clarity without washing out details!
Gamma (SDR)
The Gamma (SDR) changes the mid-tone brightness of the TV screen to adjust the shadow and highlight balance.
It greatly affects your picture’s appearance, so we recommend minor tweaks.
The best adjustment for stunning quality would be between 0 and -1 to avoid losing the contrast.
HDR Tone Mapping
The HDR Tone Mapping is specifically designed to enhance HDR content; therefore, this option is not going to be visible on non-HDR media.
Choose “Gradation Preferred” for balanced detail or “Brightness Preferred” for vivid highlights.
Black Level
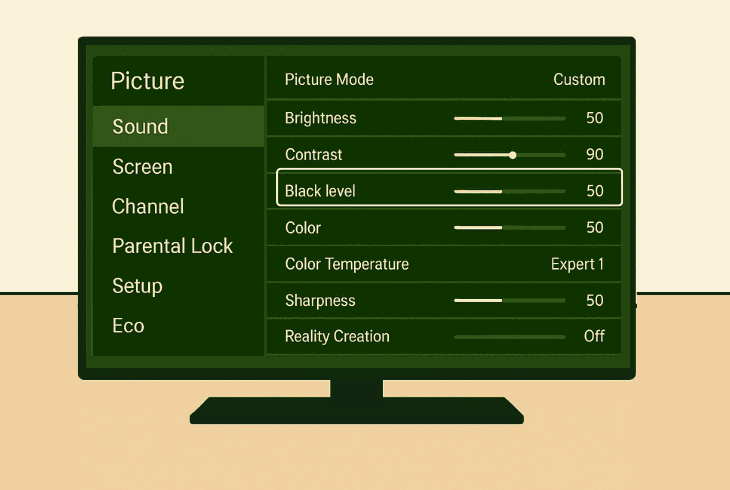
The Black Level affects and emphasizes the dark areas, which will skyrocket the contrast if you change it too much.
Keep at ~50 for natural blacks, or slightly lower (45-49) for deeper shadows in the darker rooms.
Black Adjust
The Black Adjust is specifically designed to increase the black level only in dark scenes; hence, setting it to “Low” would be the best option for best quality.
As mentioned previously, too much black level will produce unnatural contrast.
Adv. Contrast Enhancer
The Advanced Contrast Enhancer automatically tweaks the picture contrast by checking the luminance in real time.
We recommend setting this to “Off” to avoid dynamic picture changes.
Auto Local Dimming (SDR)
Similarly to the enhancer, the Auto Local Dimming (SDR) automatically changes the contrast as per the luminance and also tweaks the brightness for specific parts of the display backlight.
You should test what it looks like, so set it to “Low”. If you don’t like the changes, set it to “Off”.
Peak Luminance (SDR)
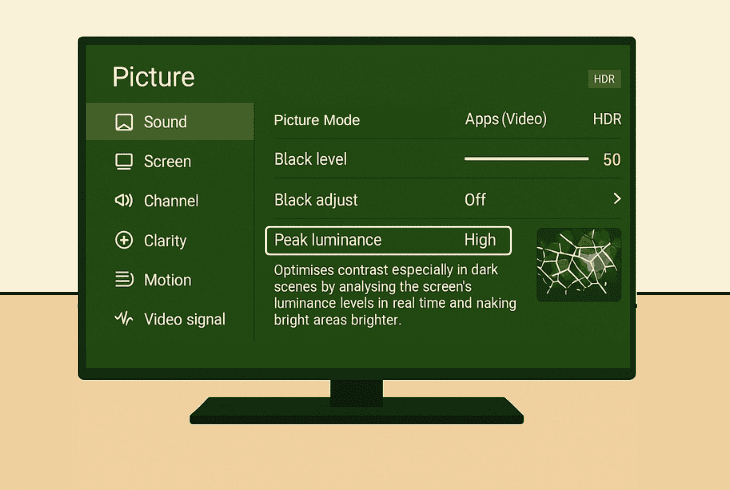
The Peak Luminance (SDR) is another automatic feature that will dynamically change the contrast, but only during dark scenes.
The real-time analyses will determine the best time to boost the brightness. We recommend setting it to “Low” to avoid losing detail in dark scenes!
⭐Color
The Color tab contains the best picture settings for Sony Bravia 4K to achieve perfect quality!
Color
The Color changes how colors appear.
It changes the intensity, which can make them dull or super vibrant based on your preference.
If you want a natural appearance, go to ~50–55 or try higher intensity by setting it to ~60–65.
Hue
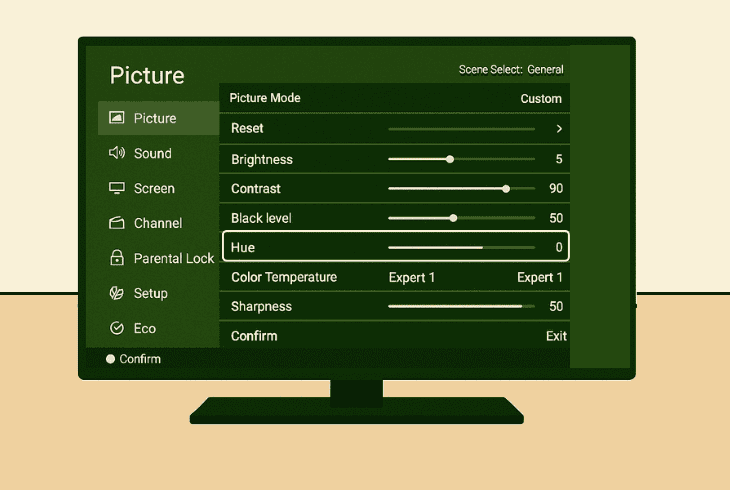
The Hue changes the color balance, which is critical and can immensely worsen the picture quality if you’re not careful here.
It changes the balance between red and green to correct potential tint issues.
We recommend keeping the Hue to 0, unless you want to correct the colors on a specific media.
Live Color
The Live Color increases the vividness of dynamic content, making cartoons or animations look extra sharp and clear.
We recommend keeping it at “Low”, unless you want extra saturation coming with “Medium”.
Color Temperature
The Color Temperature will boost the yellowness (warmth) of your overall picture to achieve a calmness and provide a great late-night viewing experience.
For general viewing, the best option here would be “Neutral” or “Warm” for cinematic accuracy.
Quick Tip: If you are a tech expert, you would love the available configurations under the “Advanced Color Adjustment” section (later in this guide).
⭐Clarity
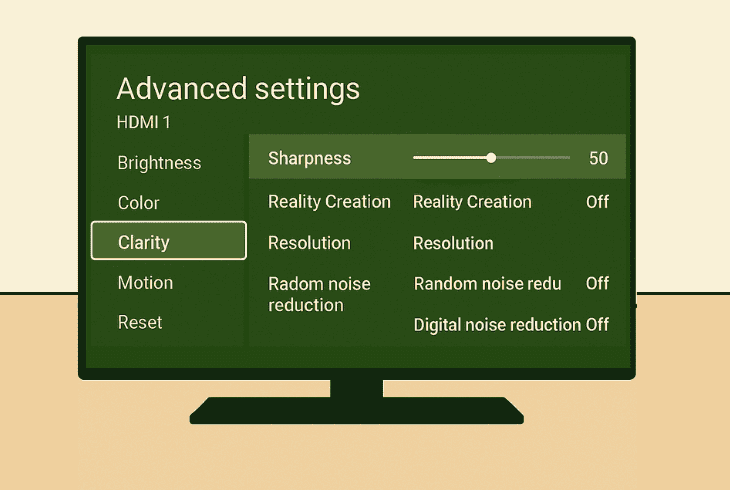
The Clarity section offers several crucial settings for enhancing the Sony TV picture sharpness:
Sharpness
The Sharpness setting affects the edges in your picture, making them appear sharper and crisper, but overdoing it may lead to an unnatural appearance.
We recommend a balanced setting of around ~50 to achieve great senses in all your content.
Random Noise Reduction
The Random Noise Reduction will attempt to remove the noise (dots) that appear in the dark scenes, which is great for viewing old movies/TV shows.
We advise setting this to “Low” as sometimes it may lead to an unnatural look in dark scenes.
Digital Noise Reduction
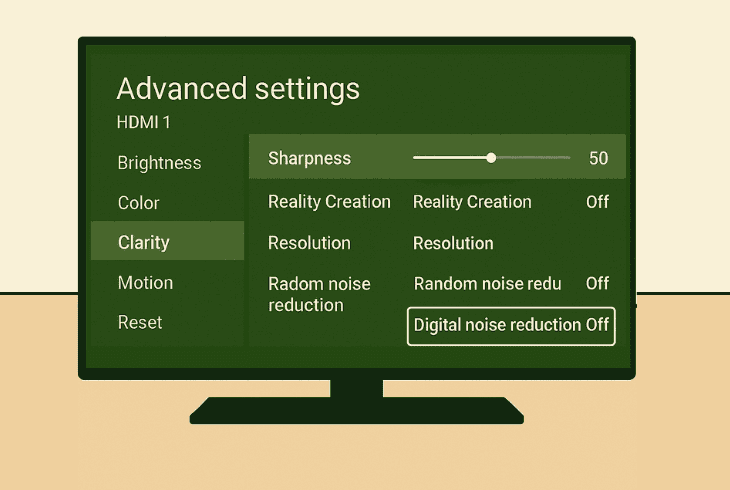
The Digital Noise Reduction will attempt to reduce the noise (dots) around text that appears on the screen, such as Block Noise. Again, the best option here would be “Low”.
Smooth Gradation
The Smooth Gradation is a great feature to remove noise showing up on the flat areas of the picture and streaks in the graduation part of the picture.
The best option here for stunning quality would be “Low”.
⭐Motion
The Motion section provides essential settings that will tweak the movement of your TV picture:
Motion Flow
The Motion Flow will smooth out fast-phased scenes by adding interpolated frames (fake FPS), reducing blur in sports or action movies.
We recommend setting it to “True Motion” or “Standard” for fluid motion and general viewing.
CineMotion
The CineMotion detects movement in the content and automatically optimizes the picture using I/P (Interlaced Progressive) conversion.
The recommended setting here for best motion is “High”.
⭐Video Signal
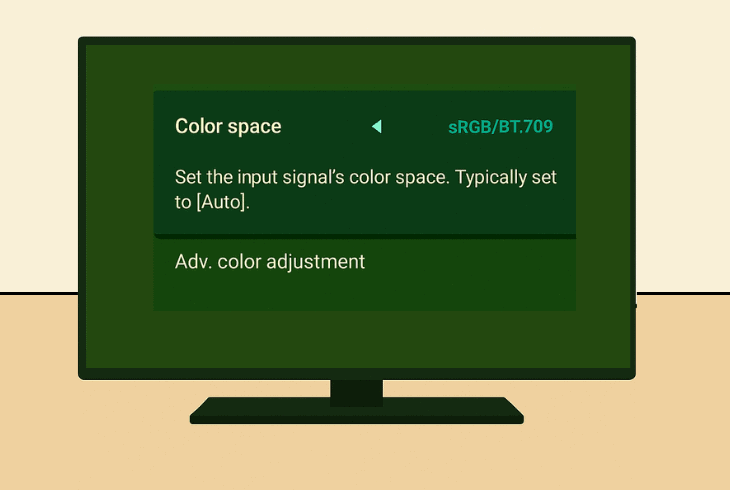
The Video Signal section offers settings that are related to the current video signal or app:
Color Space
The Color Space controls the range of colors shown, matching the source’s input for accuracy!
HRD Mode
The HDR Mode manages High Dynamic Range processing for enhanced brightness/contrast.
Sony Bravia TV – Advanced Color Adjustment (Advanced)
If you’re a tech enthusiast and you want to find the Sony Bravia best picture settings, as per your preference, you may be curious to explore the range of “Advanced Color Adjustments”.
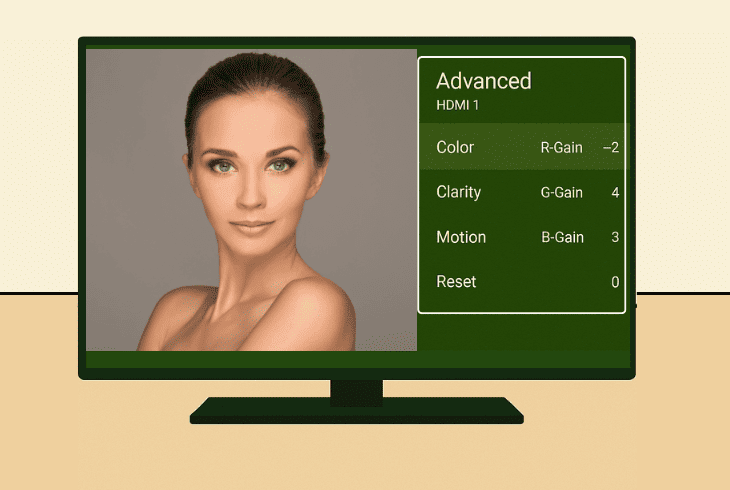
Sony Bravia TV – Advanced Color Temperature (Advanced)
The Advanced Color Temperature allows precise color tuning for professional calibration:
Per Color Adjustment
Enables hue, saturation, and brightness tweaks for individual colors (e.g., red, blue).
Adjust specific colors (e.g., red hue +5) to correct inaccuracies in the skin tones and in vivid scenes.

Finn Wheatley, a Master’s graduate in Computer Science from UCL, London, honed his skills at small data science consultancies. There, he helped large corporations enhance their data capabilities by deploying cutting-edge machine learning analytics and resolving technical hurdles.


