Google TV Streamer Audio Delay Ruining Your Show? (Fix It!)
We know how annoying the Google TV Streamer audio delay could be, making your shows unwatchable.
Also known as lip-sync, this is a known issue that makes your audio come a few seconds after the action has been done–disgusting, isn’t it?
That’s why in this guide, we’ll walk you through the following:
Google TV Streamer Audio Delay – 7 Quick & Easy Methods!
Tip: Have you tried streaming content from different apps?
1. Change the Audio Output Format

The audio delay on the Google TV Streamer is more likely to be related to the connected output device.
This is because of the Audio Output Format, which is the way the Google TV Streamer is compressing the audio playout.
The thing is, based on your setup, a different format might be the best for your situation, so we recommend carefully reading about each format below.
This will help you determine what to select as per your specific setup!
First, go to “Settings” → “Display & Sound” → “Audio Options” → “Output format”.
Automatic
This option is widely recommended since it automatically chooses the best audio format for your Google TV Streamer based on what is connected to the device.
It typically goes for formats like Dolby Digital Plus or Dolby Atmos when they are supported.
However, the automatic detection can choose heavy processing techniques when they are not suitable, causing audio delay and severe lip sync.
Dolby Digital Plus
The Dolby Digital Plus audio format will deliver high-quality audio, but the compression is not very good and will not work with all your apps.
This is because of the extra decoding time that is required, and if you’re not watching Atmos-enabled content, it may cause audio delay issues.
Dolby Digital

Well, this format is more standardized and uses a lower bitrate compared to the DD+, which has better support for old TVs and AV receivers.
If you are using a new TV released after 2020, this format may cause a delay. If you’re using an old TV or receiver, this would be your go-to format.
PCM Stereo (Recommended for Audio Delay)
The PCM Stereo audio format outputs 2-channel (uncompressed) audio directly to your TV or receiver, which has the lowest chance of producing audio delay.
The transmission is instant; it does not require decoding and bypasses the complex surround sound processing techniques.
PCM Stereo is just perfect for when you’re listening to audio through your built-in TV speakers or another connected output device.
Quick Tip: Feel free to experiment with different audio output formats to check whether the audio delay will disappear.
2. Tweak Advanced Sound Settings
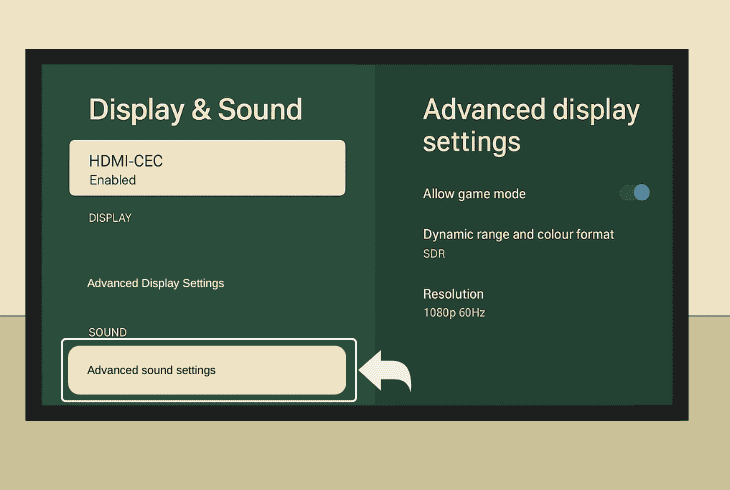
Well, even if you have selected the correct audio output format as per your specific setup, the audio delay could still be there due to the advanced settings.
Well, the advanced settings are “more powerful”, which means whatever is selected there will override the audio format that you’ve selected previously.
To open the advanced settings, go to “Settings” → “Display & Sound” → “Advanced Sound Settings” and enable the following:
- Automatic: Enable only the formats that are supported by your audio output device.
⚠️Important: If “Manual” is selected, verify that none of the formats below “UNSUPPORTED FORMATS” is enabled; otherwise, you may face severe lip sync.
3. Match Streamer & TV Audio Format
It does not matter whether you’re listening to audio through your TV’s built-in speakers or you are sending the audio to an output device; matching the format is critical.
If the Streamer is sending audio that is compressed in a certain way, and then the TV applies different compression, the entire thing becomes one big mess.

So, use the steps earlier in the guide to set your TV Streamer to (uncompressed) 2-channel audio format (PCM Stereo). Then, go into your TV settings and do the same!
| Samsung | Settings → Sound → Expert Settings → Digital Output Audio Format → set to PCM |
| LG | Settings → Sound → Sound Out → (select Optical or ARC) → Digital Sound Out → choose PCM |
| Sony | Settings → Sound (or Display & Sound) → Digital Audio Out → set to PCM |
| VIZIO | Settings → Audio → Digital Audio Out → choose PCM |
| TCL (Roku) | Settings → Audio → Digital Output (S/PDIF & ARC) → select PCM‑Stereo |
| Hisense | Settings → Device Preferences (or Sound) → Digital/Optical Audio Out → select PCM |
Note: If you can’t find your TV brand here, you can check online or consult the user manual!
4. Use the Built-in TV Speakers (Test)
To locate the problem and determine where it comes from, here at ZontSound, we always like to do the–as we call it–isolation test.
If you have an output device connected to the TV, such as a third-party speaker, soundbar, or anything else, you can temporarily bypass it.
This means unplugging it from the TV and using the TV’s built-in speakers to test whether the audio delay and lip sync would still appear there.
This is a great way to determine whether the issue comes from the Google TV Streamer output or somewhere along the line later.

There are two possibilities:
Note: If you’re using a Bluetooth speaker, the wireless connection could be causing an audio delay, so we recommend switching to a wired connection for your speakers.
5. Check Streamer’s HDMI Connection
If you’re facing the Google TV Streamer audio lag, even through the built-in speakers of your TV or connected device, this signals a connection problem.
The first point of interest that you need to check is the HDMI link between both devices.
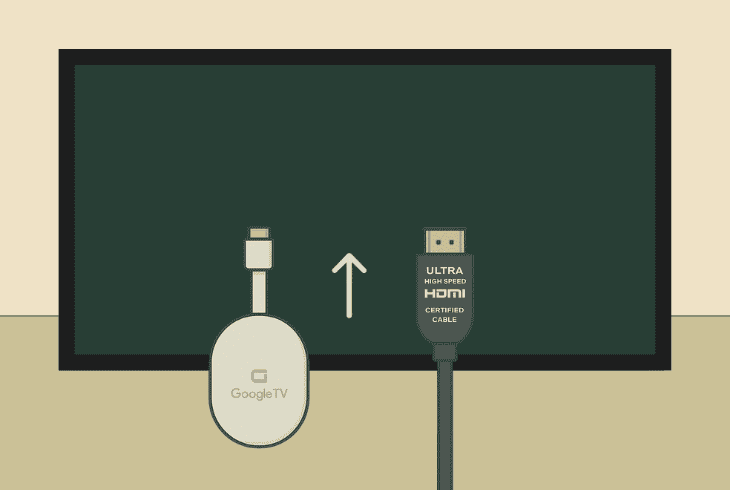
There are a few key steps you should undertake in that regard:
Note: If you’re also experiencing Google TV Streamer flickering or occasional black screens, this suggests that the issue comes from the HDMI connection.
6. Test with a Different Output Monitor
If the audio delay appears even on your built-in TV speakers, the problem could be coming from the TV, with or without a connected soundbar/speaker.
That’s why we recommend testing whether the audio delay will occur if you connect the Google TV Streamer to a different output monitor.
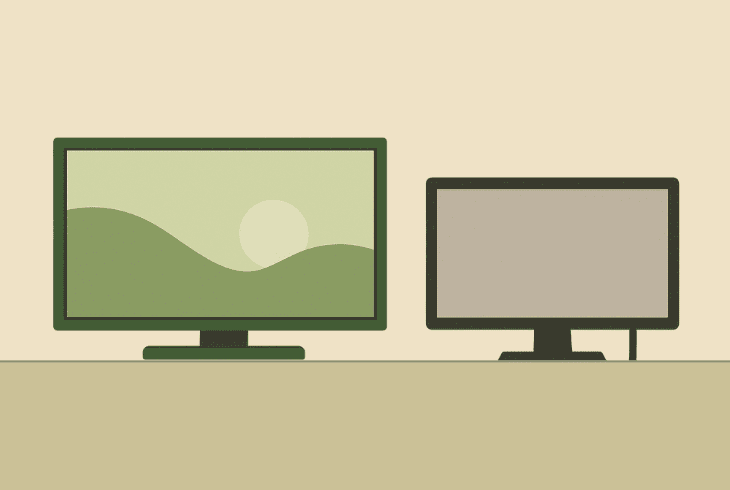
You can use an old TV or PC monitor that supports HDMI connection to determine whether the issue occurs because of the originally connected TV.
If the issue appears on the secondary device as well, the issue is with the Google TV Streamer!
7. Factory Reset the Google TV Streamer
If nothing helps against the Google TV Streamer audio delay, we recommend the factory reset process, which will reinstall the operating system.
This will guarantee that your Google TV Streamer is running a fresh system, and hopefully solve the annoying audio delay that you’re experiencing.
⚠️Warning: This process will erase absolutely everything from your Google TV Streamer!
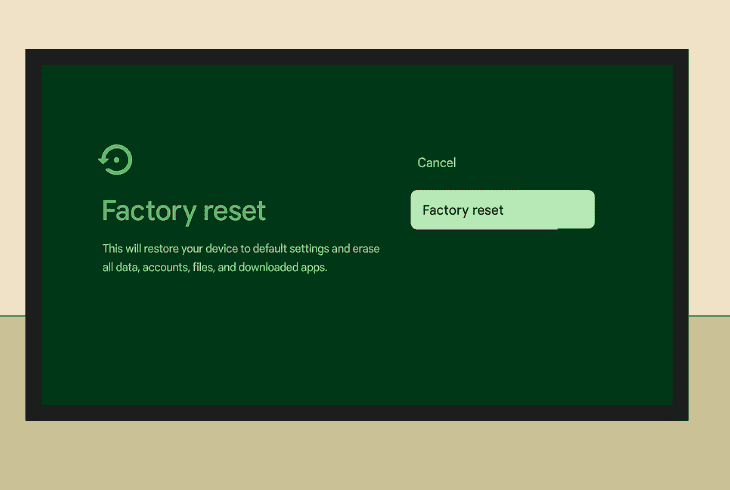
Here’s how to factory reset the Google TV Streamer in easy steps:
- From the main screen, go to your Profile.
- Then head to “All Settings” → “System”.
- Choose “About”, then “Factory Reset”.
Alternatively, you can hold the Power button on the Google TV Streamer for ~10–15 seconds, or until the yellow light starts blinking.
This will reset your Streamer, and you’re ready to test it.
Note: If you’re still facing audio delay issues, make sure to test with a different HDMI cable and a different TV/monitor, and then contact Google Help.

Finn Wheatley, a Master’s graduate in Computer Science from UCL, London, honed his skills at small data science consultancies. There, he helped large corporations enhance their data capabilities by deploying cutting-edge machine learning analytics and resolving technical hurdles.


