Solve Google TV Streamer No Sound Problem! (Easy Fix!)
It appears that the Google TV Streamer no sound problem is quite common, and not only you but many other users are also facing the same problem.
Here’s what could be causing the issue:
Without further ado, let’s get into it.
Google TV Streamer No Sound – Here’s How to Fix!
Note: Follow the steps consecutively!
1. Unmute your TV and Google TV Streamer
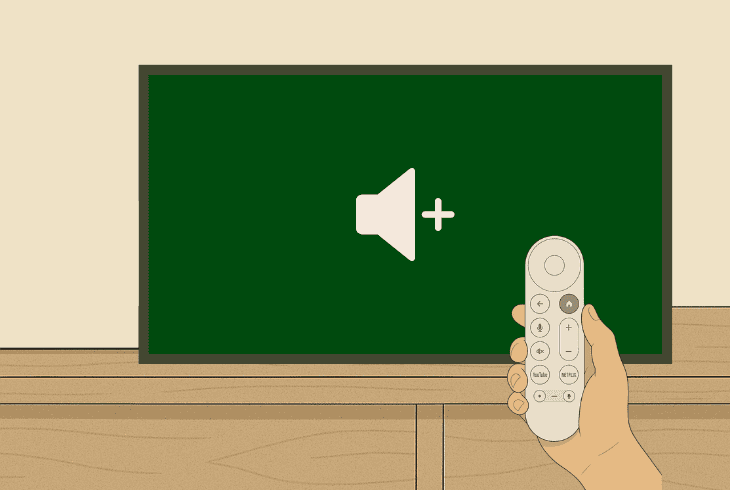
You should begin by ensuring that your HDMI-connected TV and TV Streamer volume is not at 0% or they are muted.
So, first, press the “Mute” button on your Google TV Streamer remote to unmute it and increase the volume with the “VOL +” button.
Then do the same with your TV remote!
If both your devices are unmuted with an audible volume level of above 65%, continue reading!
2. Temporarily Disable the HDMI-CEC Feature
The Google TV Streamer comes with an option called HDMI-CEC, which allows you to control the Streamer using a remote from an HDMI-connected device.
Yes, this is convenient, but in some cases, this feature causes problems with audio/video.
So, the next step is to temporarily set the HDMI-CEC to “Off” in your TV Streamer settings.
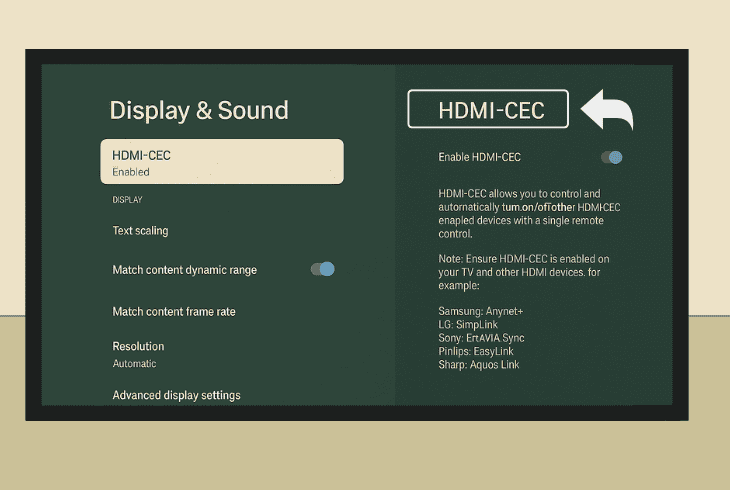
Follow these steps to disable HDMI-CEC for your streamer:
- Select the cogwheel (Settings) icon and go to “Display & Sound”.
- Now, scroll down and highlight the “HDMI-CEC” option from the list.
- Press the “OK” button on the remote control to disable it effectively.
We also recommend deactivating the HDMI feature for your connected TV or display, as this could also interfere with the audio output.
Here’s how to disable it on most popular TV brands:
Samsung TV:
- HDMI-CEC Name: Anynet+
- How to Disable: Settings → General → External Device Manager → Anynet+ (HDMI-CEC) → Set to Off
Sony TV:
- HDMI-CEC Name: Bravia Sync
- How to Disable: Settings → System → Bravia Sync → Off
LG TV:
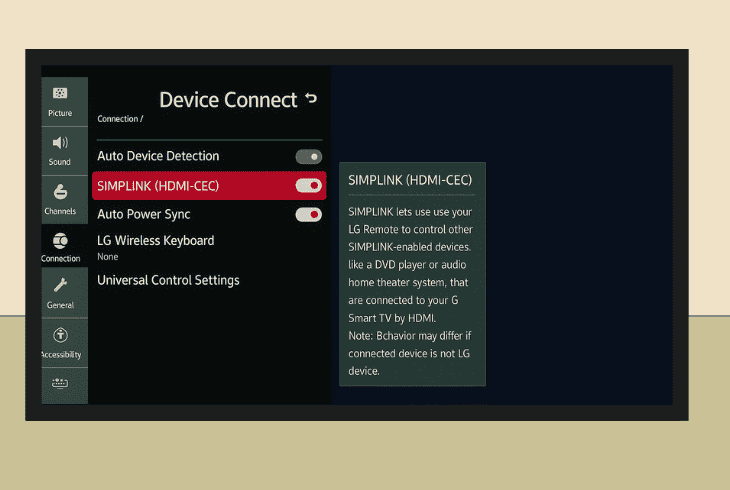
- HDMI-CEC Name: SimpLink
- How to Disable: Settings → General → SimpLink (HDMI-CEC) → Toggle Off
TCL TV:
- HDMI-CEC Name: T-Link
- How to Disable: Settings → System → Control Other Devices (CEC) → T-Link → Uncheck/Disable
Philips TV:
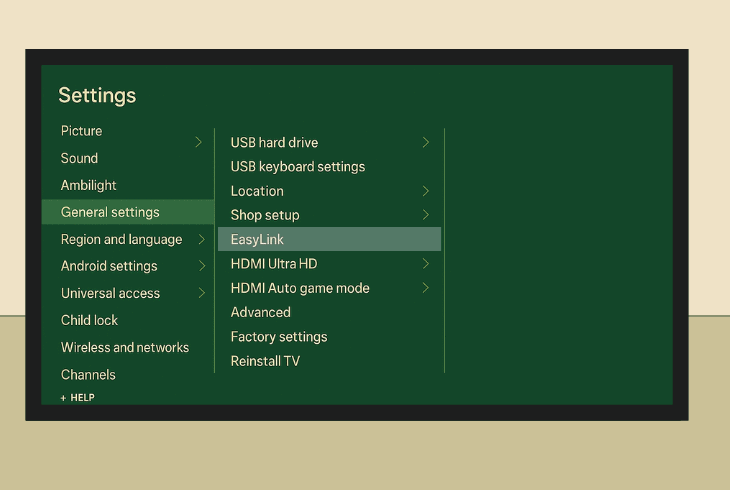
- HDMI-CEC Name: EasyLink
- How to Disable: Settings → Setup → TV Settings → Installation → Preferences → EasyLink → Turn Off
Note: Do not reactivate the HDMI-CEC before the issue is resolved.
3. Set the Output Format to “Automatic”
Perhaps the audio output of your Google TV Streamer interferes with the current selection in your TV’s settings.
If the audio format specified in your TV does not match that of the TV streamer, there will either be persistent audio disruptions or no audio.
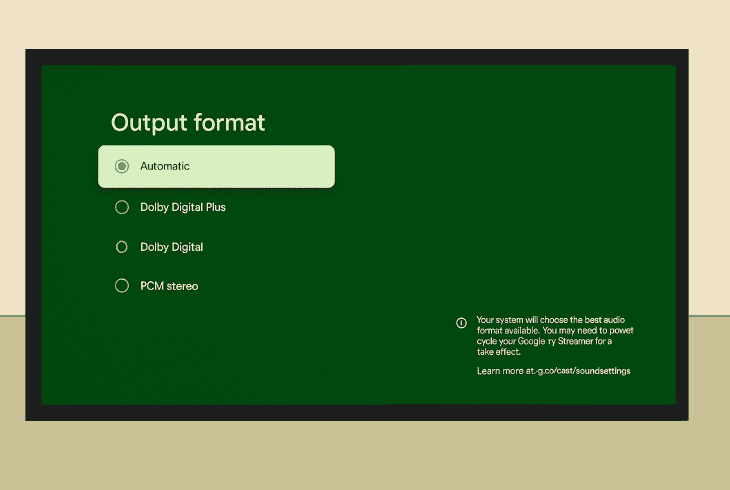
Follow these steps to configure the streamer’s audio format:
- Turn on the streamer and navigate to “All Settings”.
- Press “Display & Sound” and enter “Output format”.
- Scroll downwards and press the “Automatic” function.
- Press “OK” on the remote to lock in your format option.
- Exit the settings and test the audio of your TV streamer.
Now, we recommend rebooting your TV streamer for the audio changes to take effect.
In the meantime, unplug your TV from the power supply to “reload” the selected audio format.
4. Unplug All Devices from your TV
Another reason why Google TV Streamer 4K has no sound issues disrupting your evening is due to the HDMI-connected devices.
The simplest solution is to disconnect all external devices from your connected TV temporarily, to eliminate all potential interference with the streamer’s output.
Unplug all third-party devices connected over HDMI (except the streamer), Optical, RCA, and even VGA/DVI (DVI-D).
Switch the TV’s default audio output back to “Default” to reactivate the built-in speakers and test the audio of your Google TV Streamer.
5. Reset the Google TV Streamer Power
The Google TV Streamer uses a USB Type-C cable for a direct outlet connection through an adapter.
A potential fault with the power supply might have had an impact on the streamer’s audio output functionality, so the next step is to perform the so-called soft reset or power cycle.
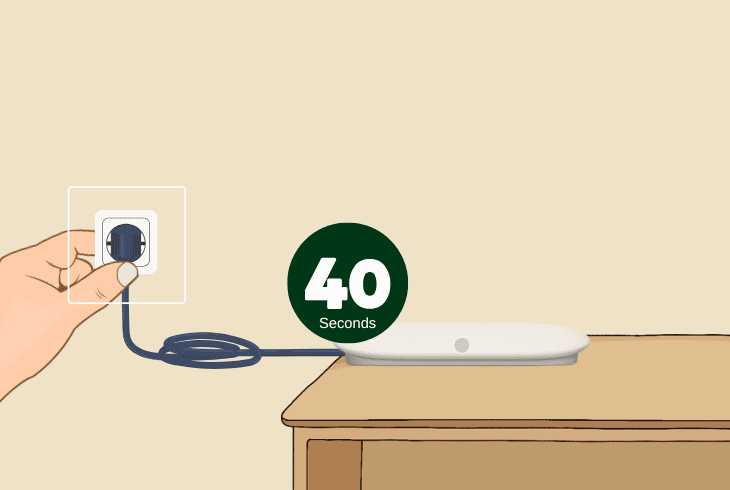
To power cycle the Google TV Streamer, unplug the USB Type-C from the adapter, then the adapter from the outlet for a minimum of 40 seconds until the electricity drains.
Now, reconnect all of the streamer equipment, verify that all of the connections are secure, and test the audio output.
If the issue persists, there could be an audio synchronization issue…
6. Set the Streamer Audio to Manual
When using HDMI-CEC, the Google TV Streamer’s audio is shared with the volume controller of your TV.
Even if the TV audio is turned up, there could still be audio format-related interference.
There is a specific function in the audio settings of your streamer that allows you to “unlink” the audio of your Google device from that of your TV and adjust it manually.
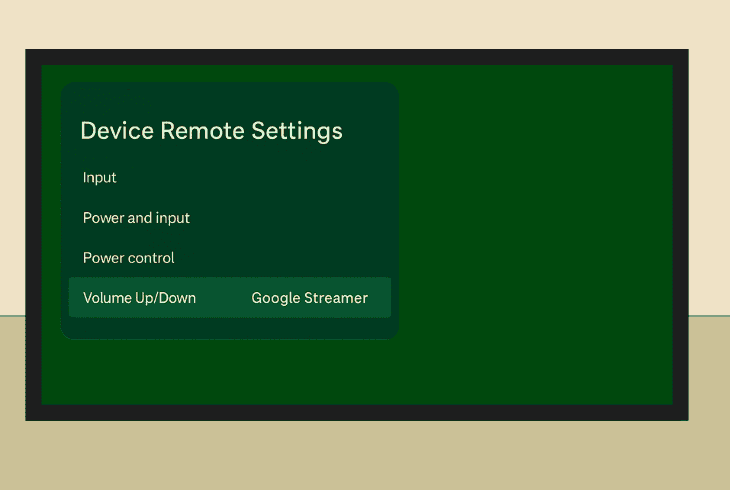
Follow these steps to allow manual adjustment of the streamer audio:
- Access the Settings of your Google TV Streamer.
- Navigate to “Device Remote Settings” in the tab.
- Highlight the “Volume Up/Down” tile on the page.
- Set the feature from “Auto” to “Google Streamer”.
- Exit the settings and turn up the streamer volume.
Now, you must use the Google TV Streamer’s remote control to adjust the volume at all times.
Your TV’s remote no longer operates the streamer volume as long as the feature is active.
7. Update the Google TV Streamer OS Version
If the issue is still there, then it could be related to the firmware version of the device.
Using an old version of Android has proven to generate many audio and video-related issues, so the next step is to upload the most current OS available for your Google TV Streamer.
Note: Verify the Google TV Streamer has established a secure internet connection before proceeding with the update instructions.
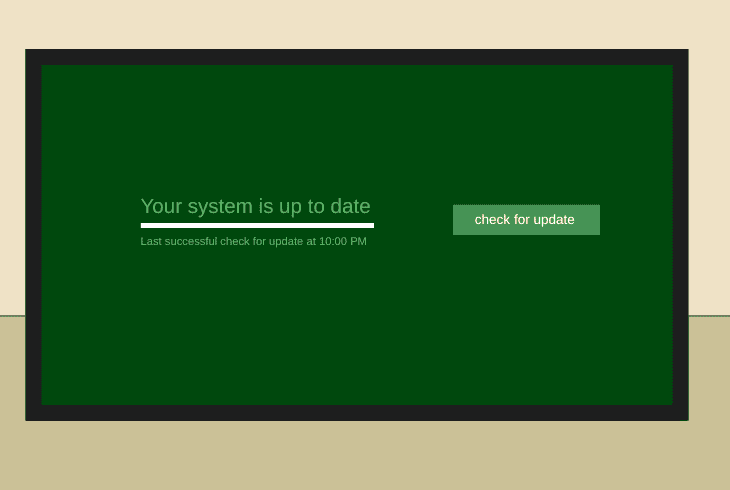
Follow these steps to update the Google streamer’s OS version:
- Access the Settings menu, then open the “About” tab.
- Now, highlight “System Update” from the options below.
- Press “Check for System Updates” on the update page.
- Wait until the Google TV Streamer checks for a new OS.
- Follow the on-screen instructions to apply the newest OS.
Once the update procedure has been initiated, refrain from all interactions with the Google TV Streamer.
This includes pressing any buttons on the remote, turning the device off, or interacting with the physical buttons in any way.
8. Test the Streamer on Another TV/Monitor
Perhaps the fault can be with the HDMI TV or monitor you are using for viewing the Google TV Streamer.
The only way to find out is to plug the streamer into another HDMI-enabled device and ensure the audio/video transfer is reliable before proceeding with further troubleshooting.
Relocate all of the streamer equipment next to another compatible device, connect the device, and specify the correct input source.
Now, play any content on the connected device and check if the audio will be transferred properly.
9. Restore the Google TV Streamer to Defaults
If, despite the solutions so far, the Google TV Streamer’s no sound problem persists, then it could be a matter of an underlying software issue.
The only proven solution for software issues is the factory reset, as it erases all content and settings stored on your device.
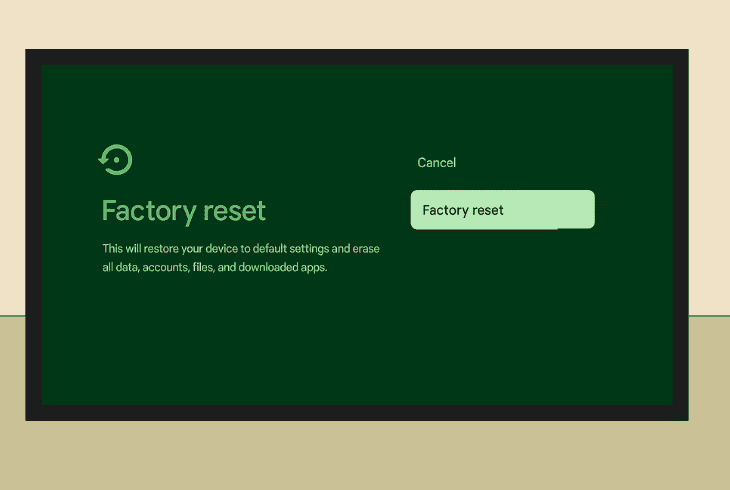
There are two ways of restoring your streamer to default settings:
9.1 Via the Google Interface:
- Open the Settings (gear icon) on your Google streamer.
- Next, go to “System”, then enter the “About” tab below.
- Choose “Factory Reset” and confirm the software reset.
- Follow the on-screen steps to finalize the reset process.
9.2 Via the Built-in Reset Button:
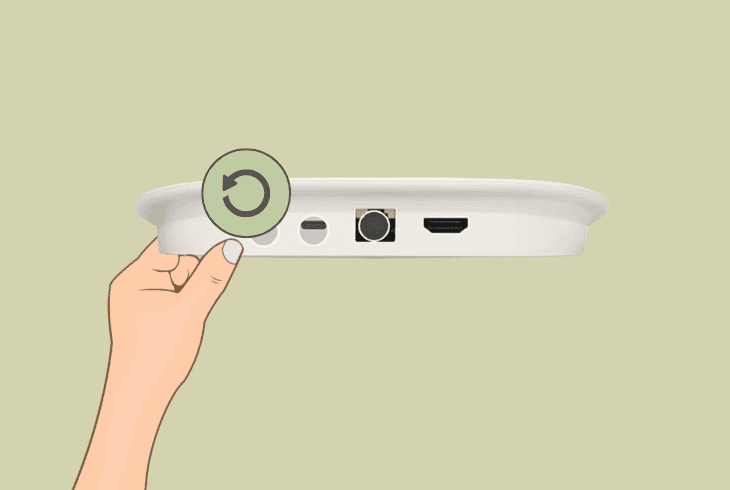
- Locate the “Reset” button on the back panel of the streamer.
- Verify the device is powered on and hold the Reset button.
- Now, release the button after the LED indicator blinks yellow.
- Continue holding until it turns solid white and stops flashing.
Warning: Once the streamer is reset, you will be prompted to reconfigure all software settings. If the issue persists, get in touch with Google Help.

Finn Wheatley, a Master’s graduate in Computer Science from UCL, London, honed his skills at small data science consultancies. There, he helped large corporations enhance their data capabilities by deploying cutting-edge machine learning analytics and resolving technical hurdles.


