DIRECTV Wireless Video Bridge Setup: (Do It Right!)
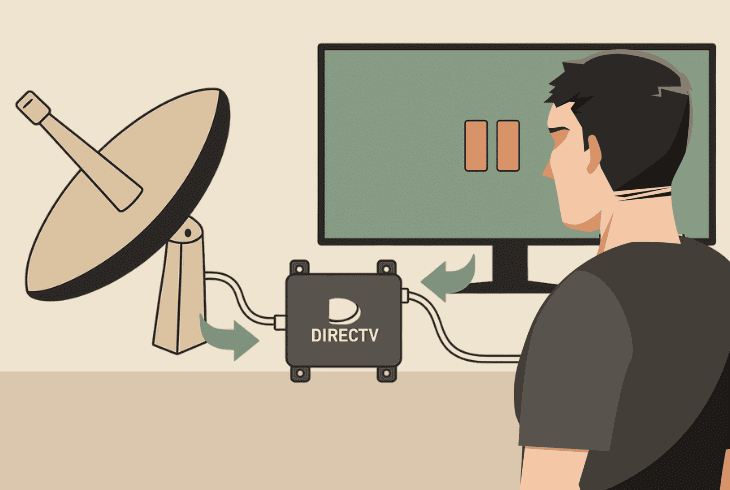
If you’re looking for a quick and easy DIRECTV wireless video bridge setup guide, you’ve just found it, so look no further and keep reading.
In this guide, we’ll go over the overview, preparation, requirements, installation, mounting options, and DIRECTV DVR and Mini activation.
Let’s get into it.
DIRECTV Wireless Video Bridge – Overview
The DIRECTV wireless video bridge (WVB) is a device designed to acquire the feed from your satellite dish and spread it to your DIRECTV Genie system.
The WVB is designed to connect only with your Genie DVR and allows all of your Genie Minis to connect wirelessly (no Coax).
This allows you to stream on all your TVs (Genie Minis) without a wired connection, and the WVB comes with a few features:
DIRECTV Wireless Video Bridge Setup – 5 Ultimate Steps!
Note: If you’re just unboxing your Genie System, follow the steps consecutively!
1. Preparation and Requirements
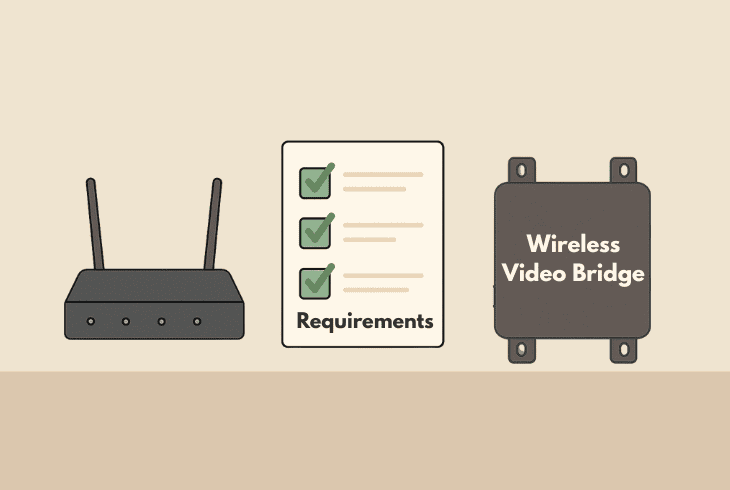
The first step is to ensure that you cover the requirements and that you have the preparation before installing your Wireless Video Bridge.
1.1 – SWM (SWiM) Installation
Whether you have a SWM (Single Wire Multiswitch) module or it’s built into the satellite dish, you need to have a feed-ready Coax cable.
If the SWM is built into your dish, that’s good; it means you’ll have one coax cable.
Alternatively, if you’re using a SWM module, the Coax from the dish must be connected to the COAX IN port of your SWM.
Here, however, you must have another Coax going to the WVB.
1.2 – DIRECTV Genie System

Whether you have a Genie DVR HR34, HR44, HR54, or H44+HDD, you must have your DIRECTV DVR and at least one Genie Mini ready to be set up.
1.3 – Wireless Video Bridge
Your Wireless Video Bridge (WVB) must be ready to be mounted and installed. In the box, you would also find an EPS10 (DC 25.2V) external power supply.
In short, the Wireless Video Bridge must be connected to a functional power outlet.
💡Tip: When choosing the location, you must also consider a nearby power outlet.
2. Installing Wireless Video Bridge
When it comes down to the installation process, you’ll have to choose a suitable location as per critical requirements and decide how you would mount the WVB.
We’re going to walk you through it:
2.1 – Choosing WVB Location
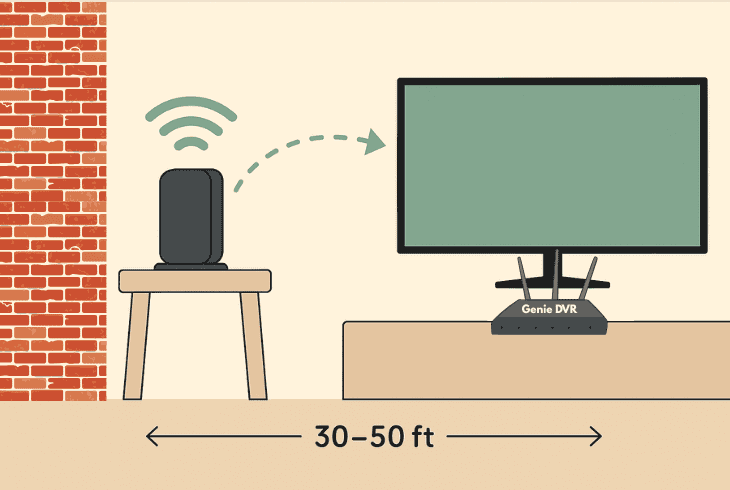
The DIRECTV WVB creates its own private network dedicated to your Genie Mini to connect, but after all, it’s a 5 GHz Wi-Fi.
So, when choosing a location, you need to keep in mind that the closer to your Genie Mini, the better the signal will be.
The recommendation here is to choose a central location, avoiding multiple brick walls, reflective surfaces, and metal studs.
The ideal distance between your WVB and Genie Mini is about ~30–50 feet (9–15 meters), in an open and central location.
Also, the location must be close to a power outlet.
💡Tip: If you live in a multi-story home, the ideal place would be on the second floor, as the Wi-Fi signal works like an umbrella.
2.2 – WVB Mounting Options
When it comes to mounting, you have two options:
👉Table installation
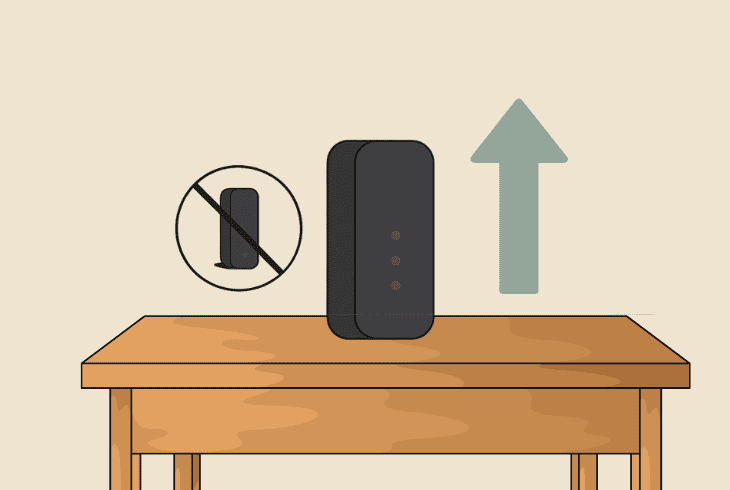
The DIRECTV Wireless Video Bridge is designed to stand up on a flat surface.
The important thing here is that the device must be standing upwards (vertical), not horizontal.
👉Mount installation
So, if you decide to mount it on the wall, you can use the M4 x 20mm pan head screws that are included in the box.
There must also be expansion anchors, allowing you to drill pretty much into any type of wall and install your mounting plate.
The DIRECTV WVB then attaches to the mount and stays in a vertical stand (not sideways).
3. Connecting Genie DVR to WVB
To connect your Genie DVR to the WVB, you need to ensure the three fundamental connections are intact, so let’s go over them:

- Dish to SWM – This is the main coax cable coming from the dish carrying the feed, which connects into the (COAX IN) on the SWM.
- SWM to DVR – Coax cable connecting your Single Wire Multiswitch (COAX OUT) to the Genie DVR (COAX IN).
- SWM to WVB – The final connection is the coax cable connecting the SWM (COAX OUT) to your WVB (COAX IN).
📍Note: If your wireless video bridge has another coax input, it just stays empty.
4. Understanding the Video Bridge
Now that we know how to setup DIRECTV wireless video bridge, it’s time to understand the DIRECTV WVB and how the device works by learning what’s there.
We must first understand the front panel.
Wireless Video Bridge Front Panel
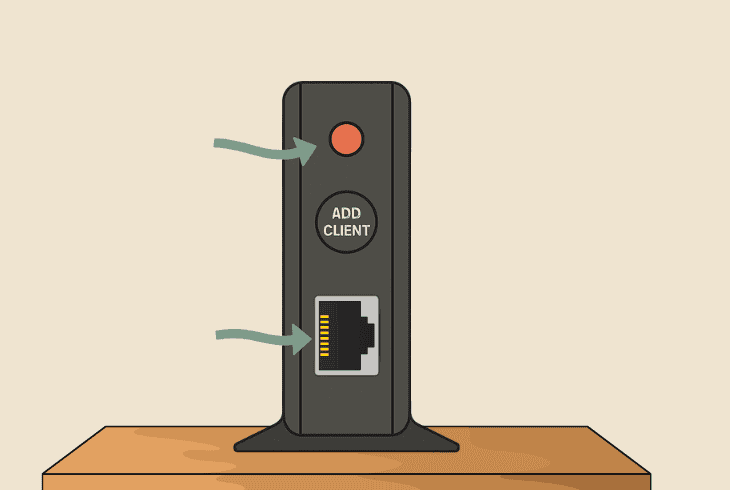
Here’s everything on the front panel of your DIRECTV WVB:
Wireless Video Bridge LED Indicator
Let’s now go over and understand the LED indicators:
| Off⚫⚫⚫ | The WVB is currently not working. |
| Blinking Blue🔵⚫🔵 | The WVB is turning on. |
| Solid Blue🔵🔵🔵 | Genie Mini is connected, and the WVB is working normally. |
| Blinking Green🟢⚫🟢 | In Survey/Beacon mode. The network is connected, but the DVR is not responding. |
| Solid Green🟢🟢🟢 | The DVR is connected, but no Genie Mini communication. |
| Blinking Yellow🟡⚫🟡 | No network detected. |
| Solid Yellow🟡🟡🟡 | The network is detected, but it’s slow. |
| Blinking Green/Yellow🟢🟡🟢 | In Survey/Beacon mode, with no MoCA network connected. |
| Blinking Green/Blue🟢🔵🟢 | Wireless Client Add Mode – (WPS) activated. |
| Solid Red🔴🔴🔴 | The Genie DVR connection is established, but the wireless connection to one more Mini is weak. |
| Blinking Red🔴⚫🔴 | There is a hardware error with your WVB. |
If you’re seeing blinking green, don’t panic–this is normal, as we haven’t set up your DVR yet.
5. Activating Genie DVR & Mini
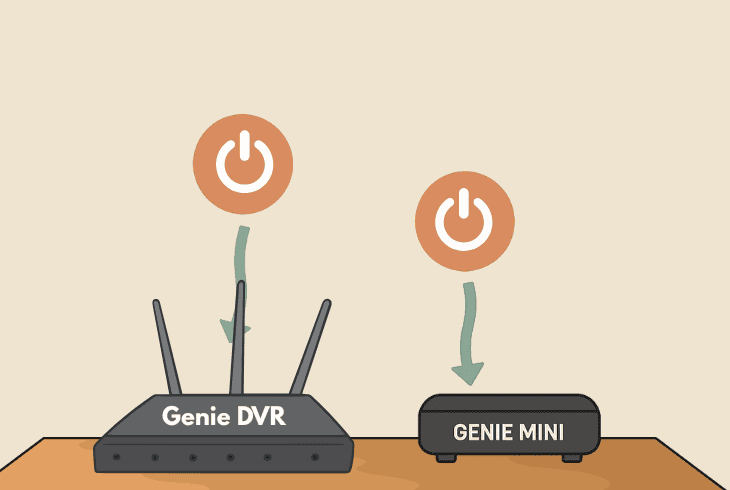
Now, when your Genie system is ready to be activated, you must connect and turn on both your Genie DVR and Genie Mini/s.
Here’s how it goes:
5.1 Connecting the Genie System
When ready, turn on both your Genie DVR and Genie Mini.
5.2 Activating the Genie System
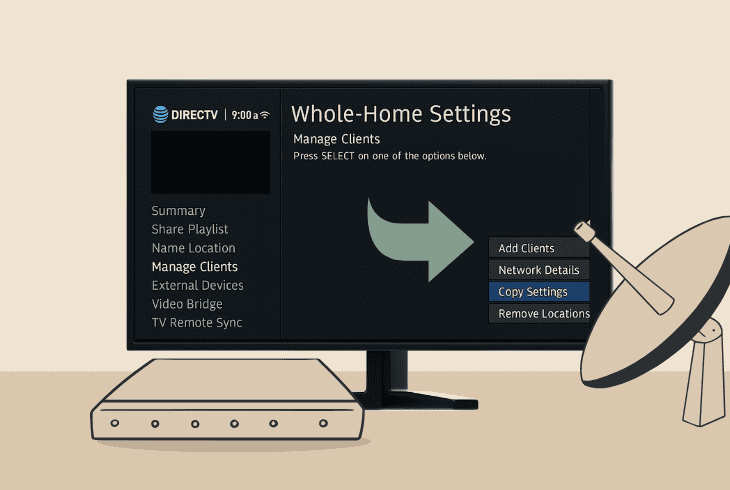
To activate the Genie system, go over these steps:
- Press the “Add Client” button on your WVB to force the connection between the WVB and your Genie Mini client.
- On your Genie DVR, go through the steps and navigate to the “Menu” → “Settings” → “Whole-Home” → “Manage Clients” → “Add Clients”.
- Write down the PIN code that will appear on your Genie DVR and reach the PIN step on your Genie Mini to connect both devices wirelessly.
- Add a “New Location” and name your Genie Mini location, and choose whether to mirror or “Don’t Copy” any previous settings (replacing old systems).
- Follow all the on-screen instructions on your Genie mini to complete the setup, and then select “Done” on your Genie DVR to finalize the setup.
At this point, your DIRECTV Wireless Video Bridge must be showing a solid blue light, which means that the connection is successful.
You now test whether everything works by going to “Watch DIRECTV” or “Browse the Guide” to ensure that your channels are there.
Note: If you see the “No Servers Detected” error, this means that your Genie Mini and Genie DVR can’t communicate with each other.
DIRECTV Genie DVR Recording – Basic Instructions!
Now, when your DIRECTV wireless video bridge setup is successful, it’s time to learn some basic recording functions and how to use them properly:
Record From Guide
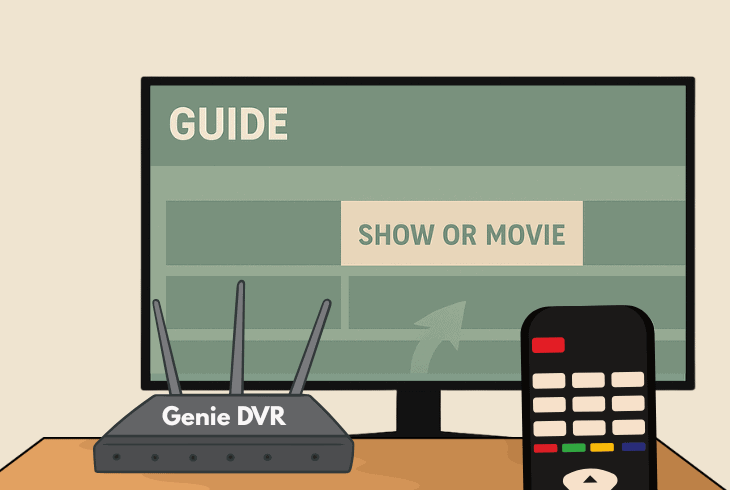
Press the “GUIDE” button on your Genie DVR remote, navigate to the show or movie you want, and press the “RECORD” button (red dot).
A red dot will appear on the TV screen, confirming that you are recording it.
Record a TV Series:
Just find the series in the channel guide from the info screen, press the “RECORD” button twice, and you’ll see a stacked red dot icon
This also means that all future episodes will be recorded automatically!
Customize Recordings:
Press “INFO” on a show that you’re recording, then select “Series Options”, and choose to record only new episodes or all.
You can limit how many episodes to keep!
Record DIRECTV Live:

You can just press the “RECORD” button while watching any channel, and the Genie DVR will save the program from when you started watching.
Up to 90 minutes!
Searching Recordings:
Press the “MENU” button on the remote, go to “Search & Browse”, type a show or a movie, and then press “RECORD”.
Watching Recordings:
To view, select, and watch your recordings, press the “LIST” button to open your Playlist, where you can manage your recordings.
💡Tip: To record from your Genie Minis, follow the same steps on your connected Minis!

Finn Wheatley, a Master’s graduate in Computer Science from UCL, London, honed his skills at small data science consultancies. There, he helped large corporations enhance their data capabilities by deploying cutting-edge machine learning analytics and resolving technical hurdles.


