DIRECTV Problems With Local Channels? (Get Them Back!)
We know how frustrating DIRECTV problems with local channels are, so in this quick guide, we will walk you through a chronological troubleshooting.
We’ll address everything from your satellite dish signal strength to the connections in the setup, and even troubleshoot the software side of the problem.
However, let’s first try to find whether we can diagnose the problem!
Check for DIRECTV Error Codes:
The first thing to do is check for any error codes when you’re trying to view local channels on your DIRECTV receiver.
When there is an error code, you may not have to go through general troubleshooting; instead, you may benefit from tailored solutions designed to resolve your error.
When there are problems with local channels, you may see:
If you see no error codes, just your local channels are not working, lagging, or have a very bad quality, continue with the solutions in this guide…
DIRECTV Problems With Local Channels – 8 Working Fixes!
Note: Are you sure the channels you’re trying to view are available in your area?
1. Refresh Your DIRECTV Receiver
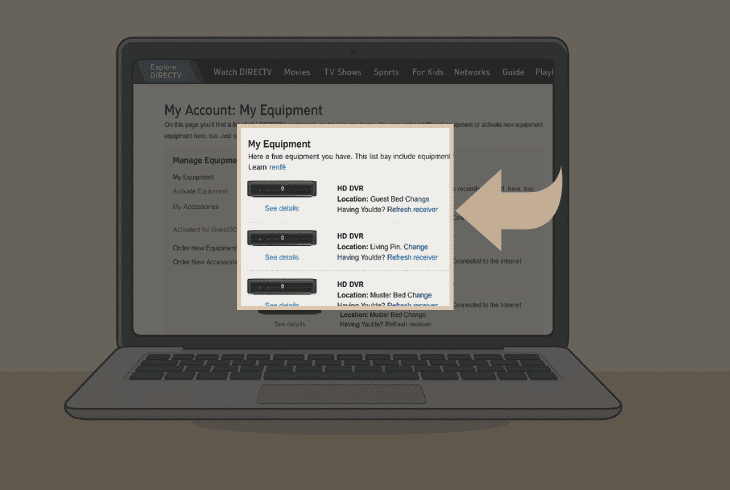
The first thing to try is to refresh or “reauthorize” your DIRECTV receiver.
This method clears all bugs and glitches related to your receiver and DIRECTV account communication.
If the account you use can’t provision the included channels to your receiver, the channels will be unavailable.
To reauthorize your DIRECTV receiver, go to the DIRECTV Login Page, sign in, and head to “My equipment & services” → your receiver → “Refresh receiver”.
When the refresh is complete, which takes ~60 seconds, restart your receiver by unplugging it from the wall outlet and then test whether local channels are restored.
2. Verify Your Dish Signal Strength
If you’re not getting any local channels on your DIRECTV receiver, the problem could be with the signal strength from your satellite dish.
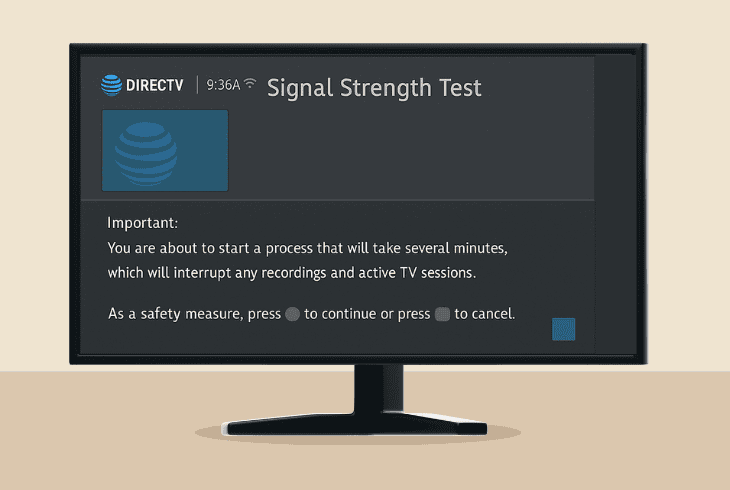
Well, you can immediately justify whether that’s the cause by running a test on your receiver, which will show you how strong the signal is.
Here’s how to turn a signal strength test on a DIRECTV receiver:
- On your receiver, go to the MENU → “Satellite”.
- Then choose “View Signal Strength” and start.
- Wait for signal squares to be filled in with values.
Here is the possible outcome:
- 🟢<90 means that your signal is very good.
- 🟡<70 means that your signal is fairly good.
- 🔴>70 means that your signal is very weak.
If you’re getting all zeros (0), then your coax connections are not intact, so jump to solution #3.
How to Improve Satellite Signal Strength?
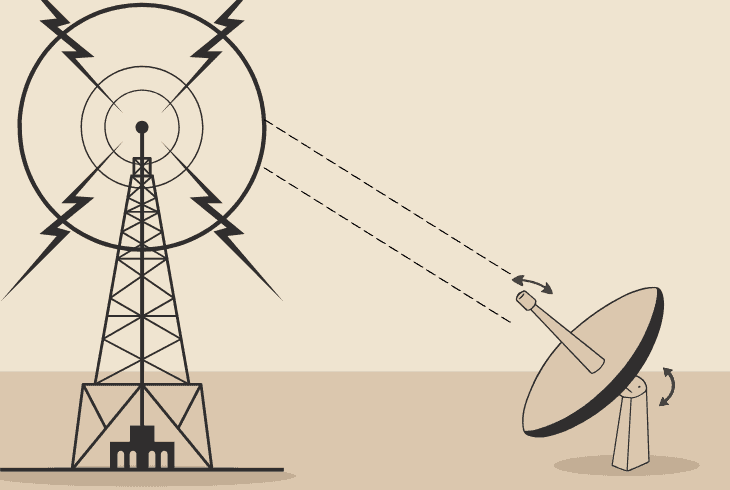
If you’re getting a signal score below 70, your dish’s LNB (Low-Noise Block Downconverter) is either obstructed or your dish is pointed in the wrong direction.
Either way, you’ll need to reach your DIRECTV satellite dish to perform the needed cleaning or necessary position adjustments.
⚠️Warning: If your dish is in a position that is difficult or dangerous to reach, we strongly recommend calling a technician to prevent danger!
To position your dish correctly, you’ll need to use the DIRECTV Dish Pointer tool and insert your ZIP code to find your Elevation and Azimuth.
This should improve your signal strength scores significantly!
3. Inspect the Coaxial Connections
If you have no signal to your DIRECTV receiver, and are wondering how do I get my local channels back on DIRECTV, check your connections.
There are three points of interest you must check:
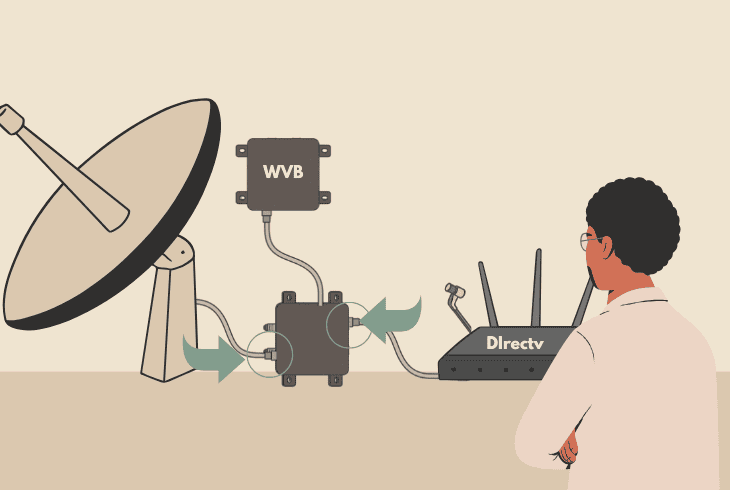
- First, you must inspect the RG-6 Coax cable connection between the satellite dish and your SWM (Single Wire Multiswitch).
- Secondly, you must check the Coax connection between the SMW and your DIRECTV receiver or Wireless Video Bridge for Genie setups.
- The third connection to inspect is a potential Coax cable running from the SMW to your splitter, if there is one implemented in your setup.
We recommend unplugging and reconnecting the Coax cables to ensure they are tightly fitted.
4. Check the Wireless Video Bridge (Genie Setup)
If you are using a DIRECTV Genie setup, you must verify that the Wireless Video Bridge (WMV) is set up correctly; otherwise, you’ll be missing your local channels.
The Genie setup consists of a Genie DVR and a Mini, which must communicate with each other over a wireless connection through the Wireless Video Bridge.
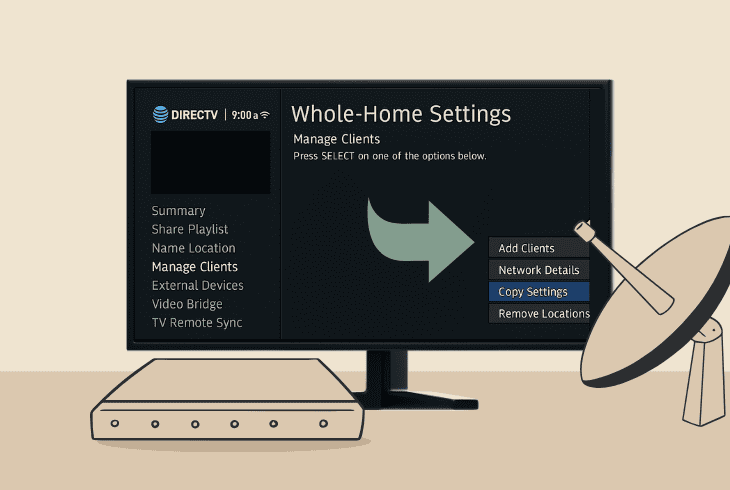
Sometimes, even when everything is connected, you may need to re-run your wireless video bridge setup to get things back on track.
So, on the Genie DVR, head to “Settings & Help” → “Settings” → “Whole-Home” → “Manage Clients” → “Add a Client”.
You must insert the PIN code shown on your DVR into the Genie Mini, and the WVB should start working, instantly enabling all your local channels.
5. Reinsert Your Identification Card
The Conditional Access Module Identification Card (CAMID) is the thing that enables your local channels from the package on your DIRECTV receiver.
When the CAMID is inserted incorrectly or can’t be read because it’s dirty, no local channels will appear in the TV guide, or you’ll get different error codes.
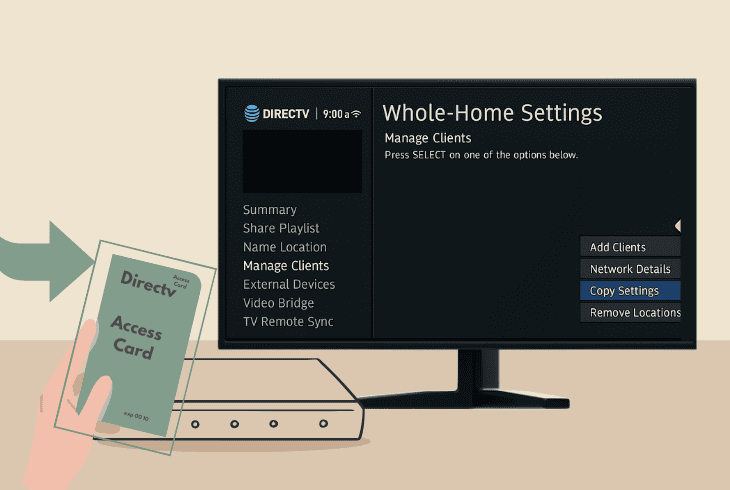
The CAMID is located behind an access door on your DIRECTV receiver, so go ahead and pop it out.
Then clean the card using a microfiber cloth, and insert it correctly by looking at the arrow pointing in the right direction for inserting it.
When ready, reboot your DIRECTV receiver and check whether the local channels will appear!
6. Check the Single Wire Multiswitch
If your local channels on DIRECTV not working, perhaps the problem lies somewhere after the Single Wire Multiswitch (SWM).
This is a potential suspect, especially if your satellite dish looks fine, but you’re still getting absolute zeros when testing the signal strength on your receiver box.
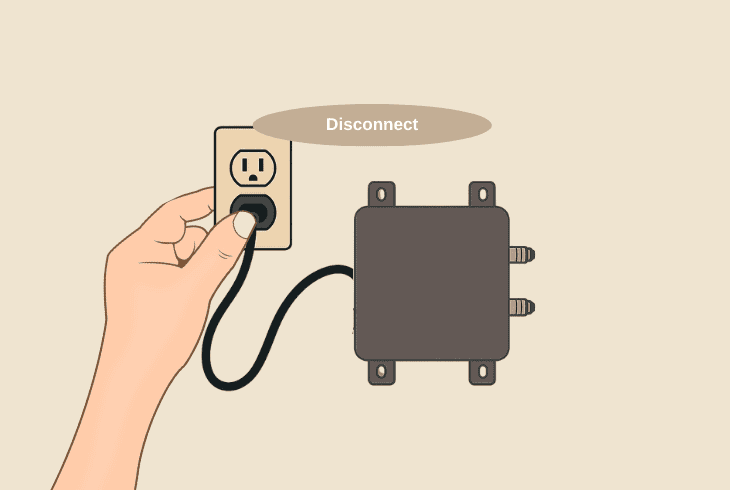
There are a few things you can do:
To test the voltage, you’ll need a multimeter, though!
👉Try Direct Connection:
Another thing to try is to bypass a potential Coax Splitter in your setup.
We know that you may need the splitter if you have more than one traditional DIRECTV receiver, but it’s important to narrow down the problem by excluding potential points of failure.
So, bypass the splitter and connect the Coax from the SWM directly into the DIRECTV receiver.
If that worked, you know that the problem is with the splitter!
7. Update DIRECTV Receiver’s OS
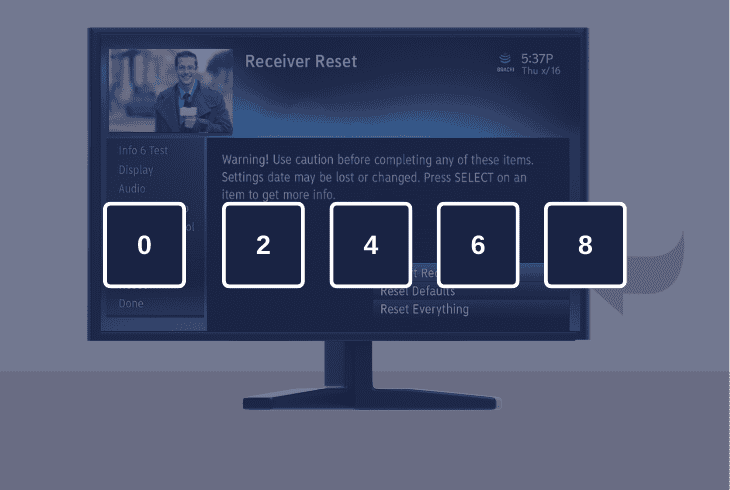
In case everything in your setup looks intact, but you still have no local channels, perhaps the issue is on the software side.
A quick way to resolve software issues that prevent your local channels from appearing is to update your DIRECTV receiver.
📍Note: An update is only possible if you’re getting a good satellite signal strength!
To update a DIRECTV receiver, restart the device and immediately after the first blue screen, press 0 → 2 → 4 → 6 → 8 on your remote.
You should soon see a progress bar, slowly filling up.
This means your DIRECTV receiver is downloading an update over satellite connection, and the OS firmware will soon be up to date.
8. Factory Reset DIRECTV Receiver
In case nothing works and you still have DIRECTV problems with local channels, it’s time for the ultimate method–factory reset.
The reset process will provide you with a fresh start by fully reinstalling the receiver’s operating system.
This will trigger an automatic authorization and channels scan, hopefully bringing back all your local channels momentarily.

- To reset a DIRECTV receiver to defaults, navigate to “Settings” → “System” → “Restart/Reset” → “Factory Reset”.
You can also trigger a factory reset by holding the small red physical button, either on the side or within the CAMID access door on your receiver.
Either way, your receiver will restart and will hopefully bring back your local channels quickly.
📍Note: If you can’t diagnose the problem by yourself, get in touch with DIRECTV Customer Support.

Finn Wheatley, a Master’s graduate in Computer Science from UCL, London, honed his skills at small data science consultancies. There, he helped large corporations enhance their data capabilities by deploying cutting-edge machine learning analytics and resolving technical hurdles.


